
I will walk through the process of how I built my brew kettle. I did not take a video of the actual process, but I will explain how I did it.
Approximate times in the video are noted for reference.
Video Summary
I wanted to build a kettle for brew-on-a-bag, so it needed to be pretty big. I also needed a stainless steel basket to help support the bag itself. I ended up choosing a 44 quart Bayou Classic that came with the steam boil basket with it. I chose the 1144 model and it has been working really well. It has an extra gallon at the top of space that helps support where the basket actually is. It ends up equaling 11 gallons, with 10 usable gallons.
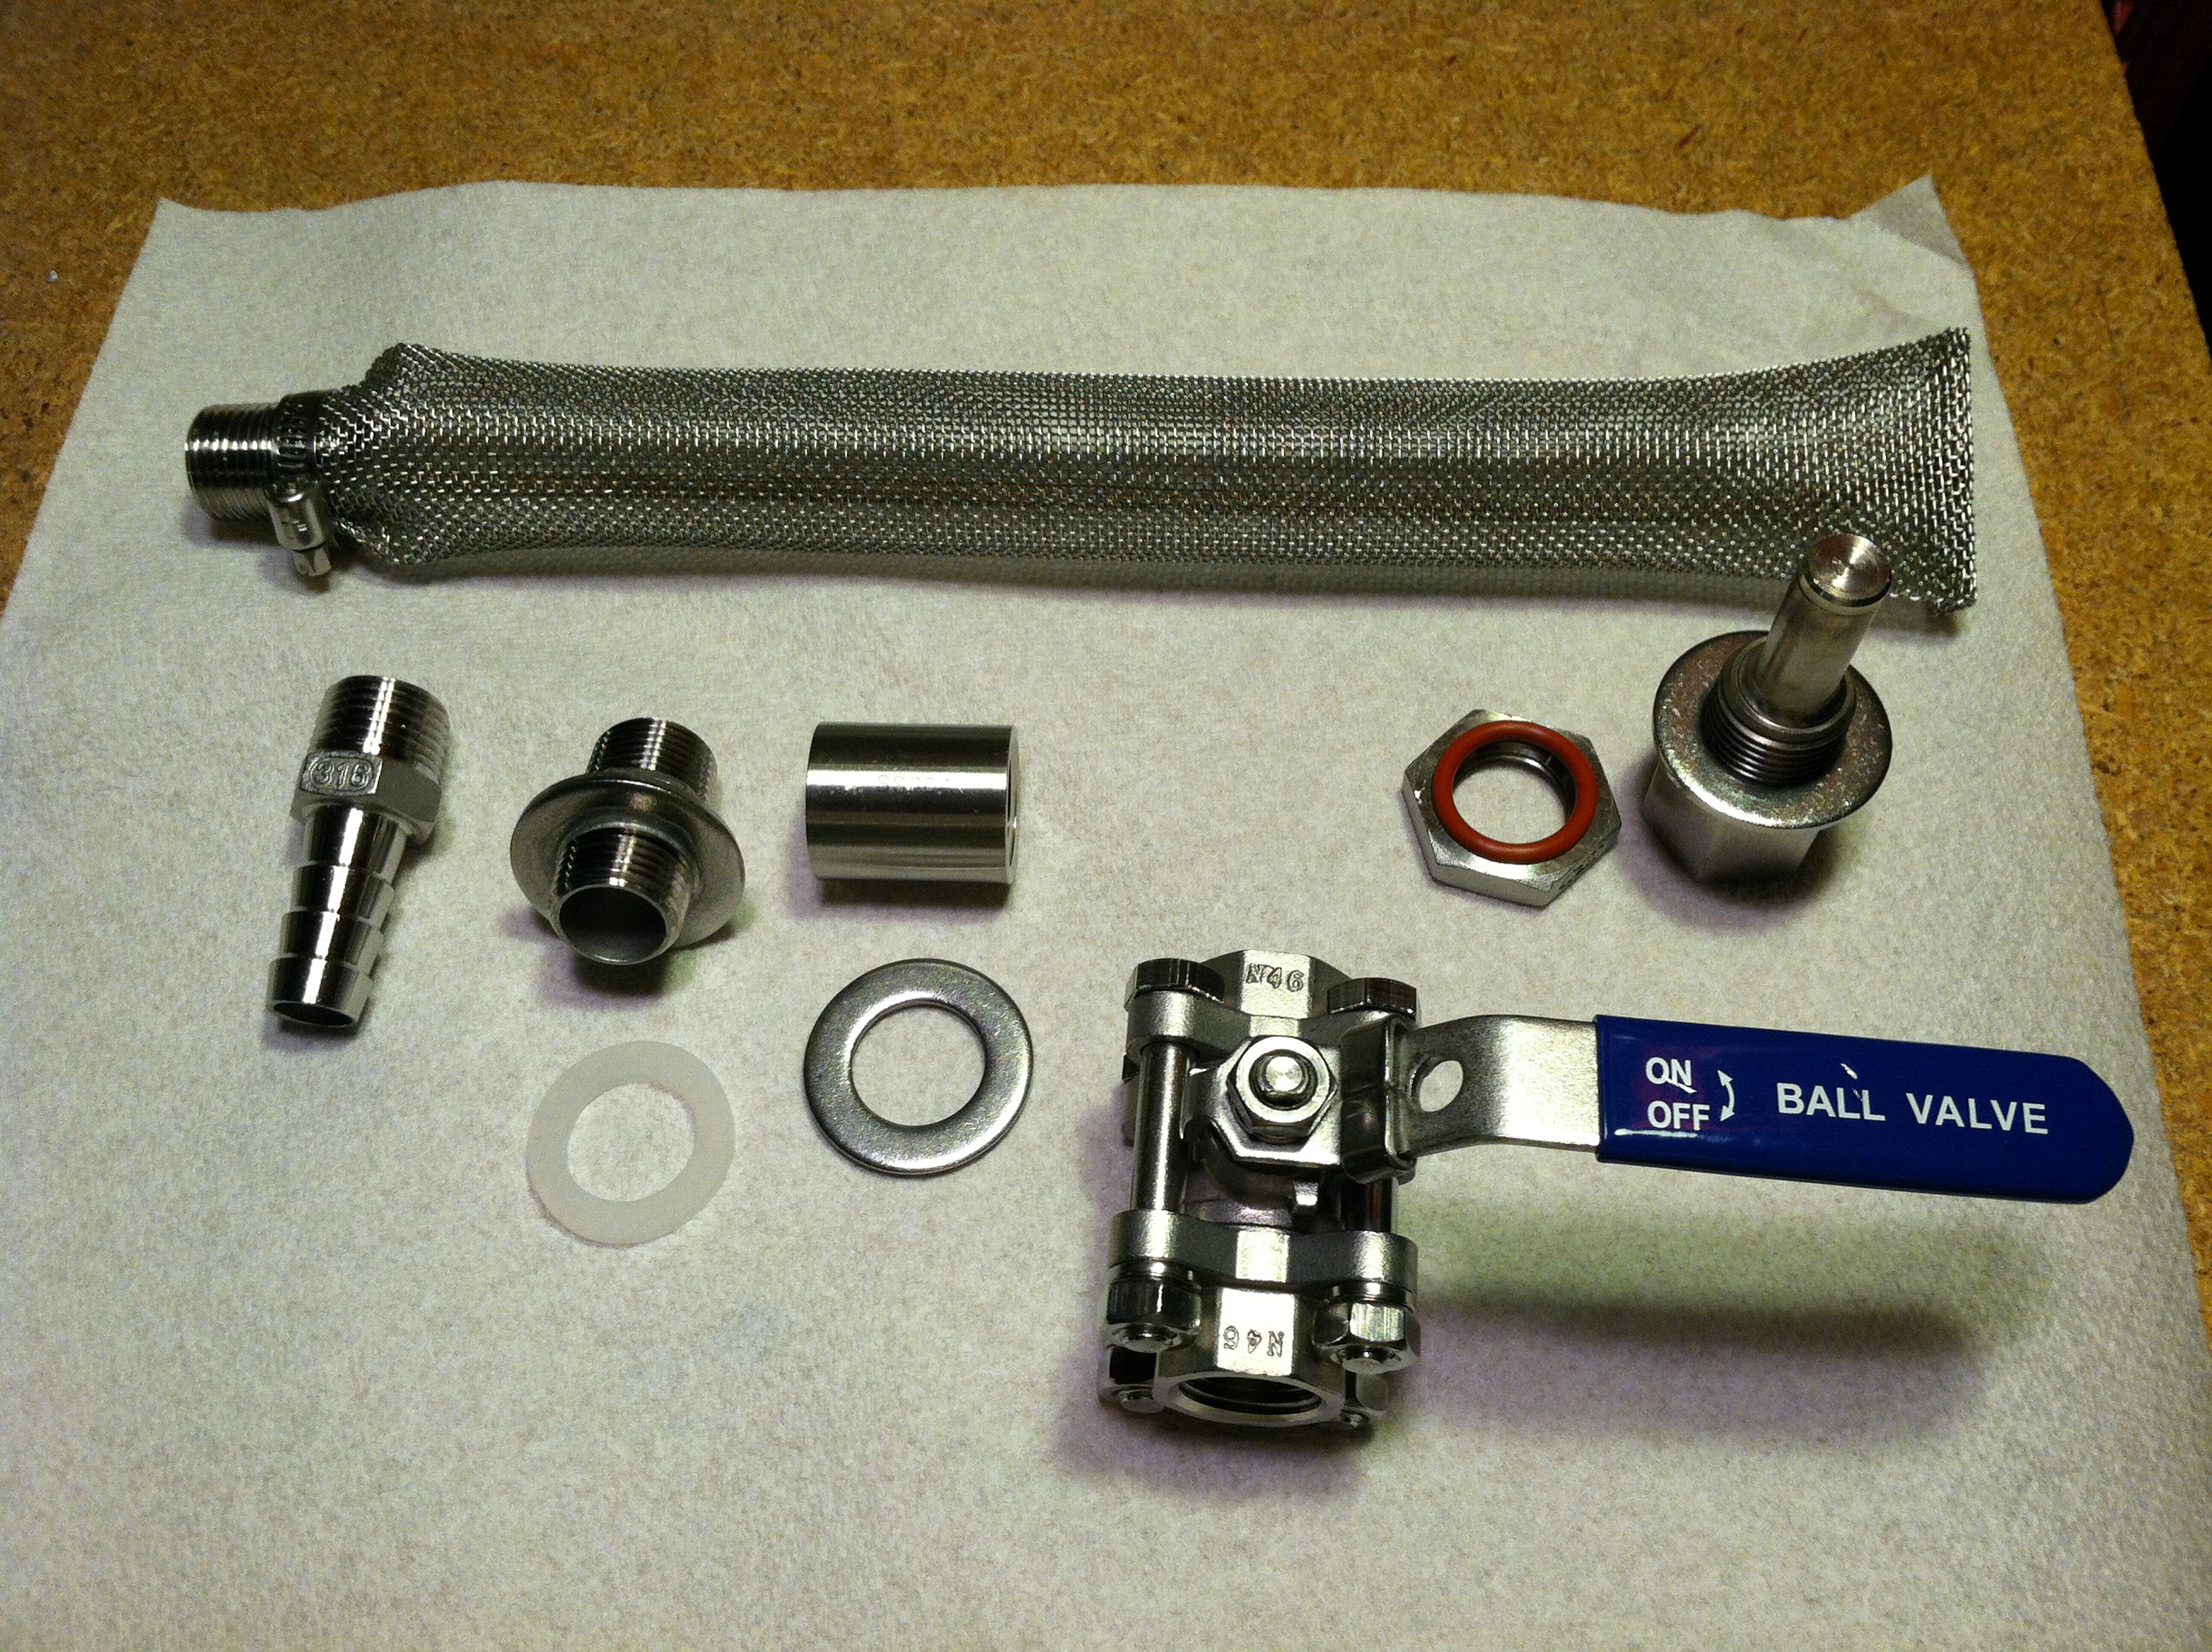
1:25 I have a 3-piece stainless steel valve for draining. I also put in a hop filter and a thermowell for my thermometer. I decided to do that because it will be better protection with the basket that’s there and as a heat shield for the thermometer probe, since it’s so low in the kettle. I still needed to fill the thermowell with thermal grease to make it work better.
Everything had to be mounted very low in the kettle because the basket goes to low. So I had to drill my holes as low as possible. I used an eighth inch drill bit to start my initial hole, and from there I used a step bit. Then I used some plumbing sand paper to clean up the edges inside, I also used a grinding stone on my drill first to get the rough stuff off.
It’s pretty important to make sure you use a lot of cutting oil; you don’t want to burn out the drill bit or deform the stainless steel. Make sure you have a nice constant even pressure and go slow. To see how I drilled a hole like this, please see my Sight Glass Installation video.

4:00 You need to put Teflon tape on both parts of the bulk head, the end of the outside connector that goes to the 3-piece valve, and the thermowell. I put the thermowell a little higher than the drain because I wanted that to go as high as it could.
I also noticed that when you’re looking from the inside of the kettle, be careful not to go to low when you drill, and be aware of the curvature at the bottom of the kettle. You want to make sure the washer can sit flush against the kettle otherwise it won’t seal right.
5:04 It’s easy to clean. The 3-piece valve is easy to take apart. To see how I clean my 3-piece ball valve and thermowell, please see How To Clean a 3-Piece Ball Valve.
So that’s basically how I built my new brew kettle.