
Today we are brewing Jamil Zainasheff’s “Jamil’s Evil Twin” all grain kit from Northern Brewer.
I’m dedicating this brew session to my late father “Jamil” who has been certainly known to all to be the complete opposite of “evil” and I thought it would be cool to brew a beer with his name in it. I mean really, how many Jamil’s do you know?
A few notes on this recipe:
Jamil has authorized the substitution of the Amarillo hops with Cascade due to a shortage. This recipe also calls for a 90 minute boil as opposed to a 60 minute and racking to a secondary.
It’s mid November here in Michigan and we are supposed to have unseasonably high temperatures – around 62 degrees. With that, high winds and strong thunderstorms are expected. So I figured it might be a good time to show how a full 5 gallon (19 Liter) brew-in-a-bag will perform on my stovetop as opposed to using my Bayou Classic burner.
This recipe calculated out (taking into consideration the 90 minute boil) to 8 gallons of strike water. Now I’ve done 8 gallons before on this cooktop and the downsides were:
1. Time – it took a lot longer
2. Space – it’s difficult to deal with the grains and my strainer basket due to the kettle’s height and our kitchen’s ventilation hood
3. The boil itself – I just don’t get as vigorous of a boil with this burner
So how will your kettle perform indoors with this much water? As a reference, the burner I will be using is natural gas @ 17,0000 BTU.
Approximate times in the video are noted for reference.
Video Summary
Preparation

1:50 The cool thing about brewing inside is I get to use my wife’s pot filler which makes it pretty easy considering I have to deal with eight gallons of water. Make sure your kettle’s valve is closed and really try to center the kettle as best as you can on the stovetop so we can get the best heat distribution. So we’re going to get this up to eight gallons then hit our strike temperature of 152 degrees.
2:20 Don’t forget that you still need some sort of heat shield to protect your sight glass and thermometer. Before I put a heat shield in place, I couldn’t touch anything (thermometer dial, valve, and sight glass housing) on the lower end of my pot because of the heat. Now I can easily touch them, so they should be OK now.
We have a total of four hop additions. Three we’re going to have to measure out from the kit and the last one is the easiest because it is just one ounce direct from the pouch. So get your scale ready and don’t forget to account for whatever container you’re going to use measure with (tare weight).
Brew
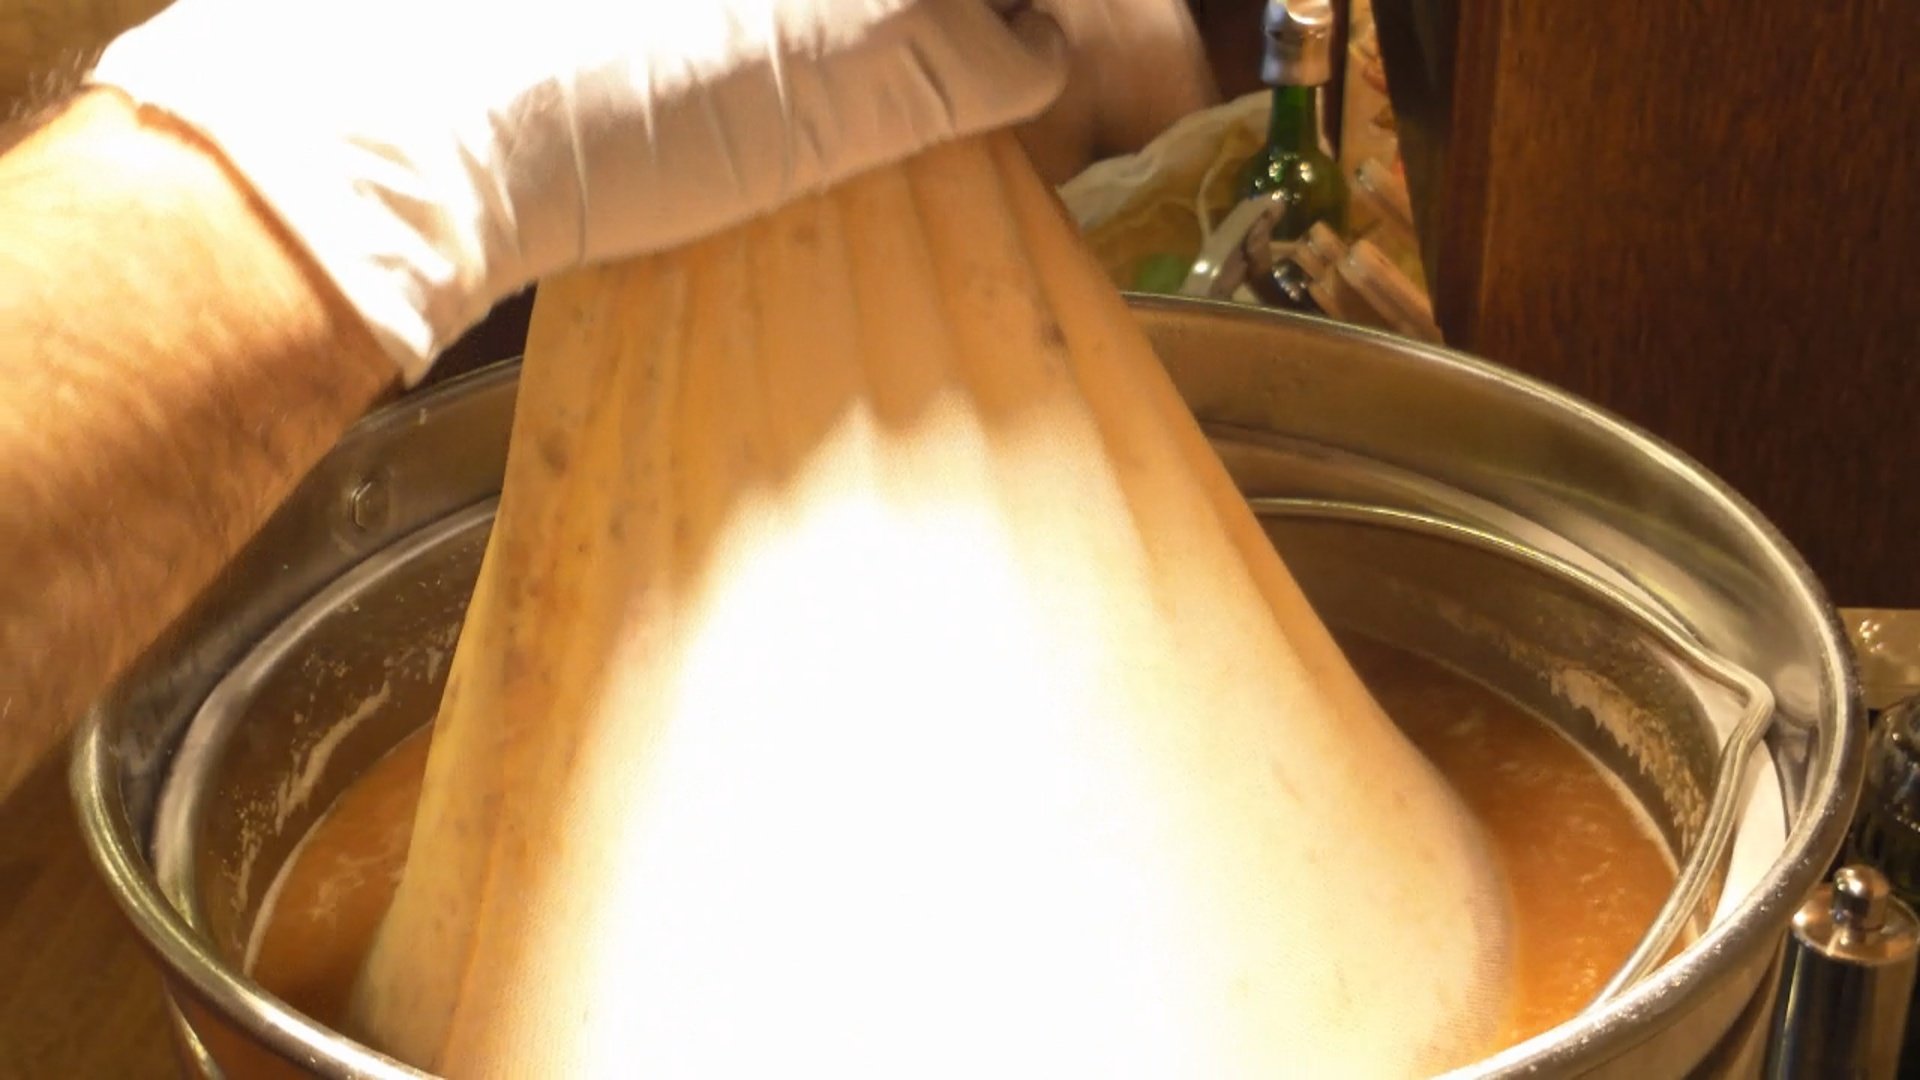
3:12 It’s time to put the grains in. It’s always better to sir this slowly as you add the grains. However, when you order a full kit it comes in one big bag which makes this part more difficult. Start your timer for 90 minutes. I’m stirring using my big paddle to help break up some clumps.
4:00 Our 90 minute mash is complete; we’re going to give this a quick stir, then raise the temperature to 170 degrees F for a 10 minute mash-out. Once mash-out is complete, we are going to stir it once more and get ready to pull the bag.
5:05 Now let’s get the boil temperature started up and get our pre boil readings. It looks like our pre boil level is about 6.4 gallons. At about 15 minutes into the boil and the temperature is just above 200 degrees. When I boil outside I get a much stronger boil than indoors, but it’s actually not too bad right now. Waiting now for the first hop addition at 60 minutes.
6:15 It’s time for the first hop addition…then second…then our Wirlfloc tablet…the third hop addition…then we begin sanitizing the immersion chiller. Finally it’s time for the last hop addition while the chiller has been added, as well as flame-out. Now we will be getting ready for cool down.
7:32 For a quick kitchen cool down set-up with my immersion chiller, I’m using an adaptor on my faucet. Next I’m going to make sure everything is sanitized. After the cool down we’re just about 69.7 degrees F, a little cooler than I wanted but that’s okay. I removed the hop bags and the chiller and we’re showing the volume at about 5.6 gallons, so that’s pretty good. We should be right where we need to be, so it’s time to transfer to the primary fermenter. Make sure during the transfer that there’s lots of splashing for good aeration.
9:20 Looks like we hit our number of 5.5 gallons to the primary, and I’m very happy about that. I’m going to now take my final gravity reading and then pitch, making sure to aerate really well. Now it’s time to add the yeast pack.
I begin by opening the top of the Wyeast Smack Pack and checking the inside (this was my first time using a Wyeast Smack Pack). Upon my inspection it does not look like I popped nutrient pouch. I decided to go ahead and add the yeast to my carboy anyway without the nutrients. After looking inside the activator package, it is clear that the nutrient pouch did not break.
11:09 I did check up on whether the Wyeast pack needs to activate and I found out that it doesn’t. It’s just used to get the yeast going, so you can pitch it without activating it and it will work just fine. Although I don’t think I’ll need it, I’m going to use my blow off tube just in case. I’m going to now set up my fermentation heater and get it ready. It doesn’t need it now at 74 degrees F but it will be getting colder soon.
13:18 It has been about 12 days since we put this in the primary and this brew requires racking to a secondary. Everything is looking good and some yeast is still in suspension. I’m going to get everything sanitized and remove the temperature probe that’s connected to my fermentation heater (that has been working really well).
Racking to Secondary
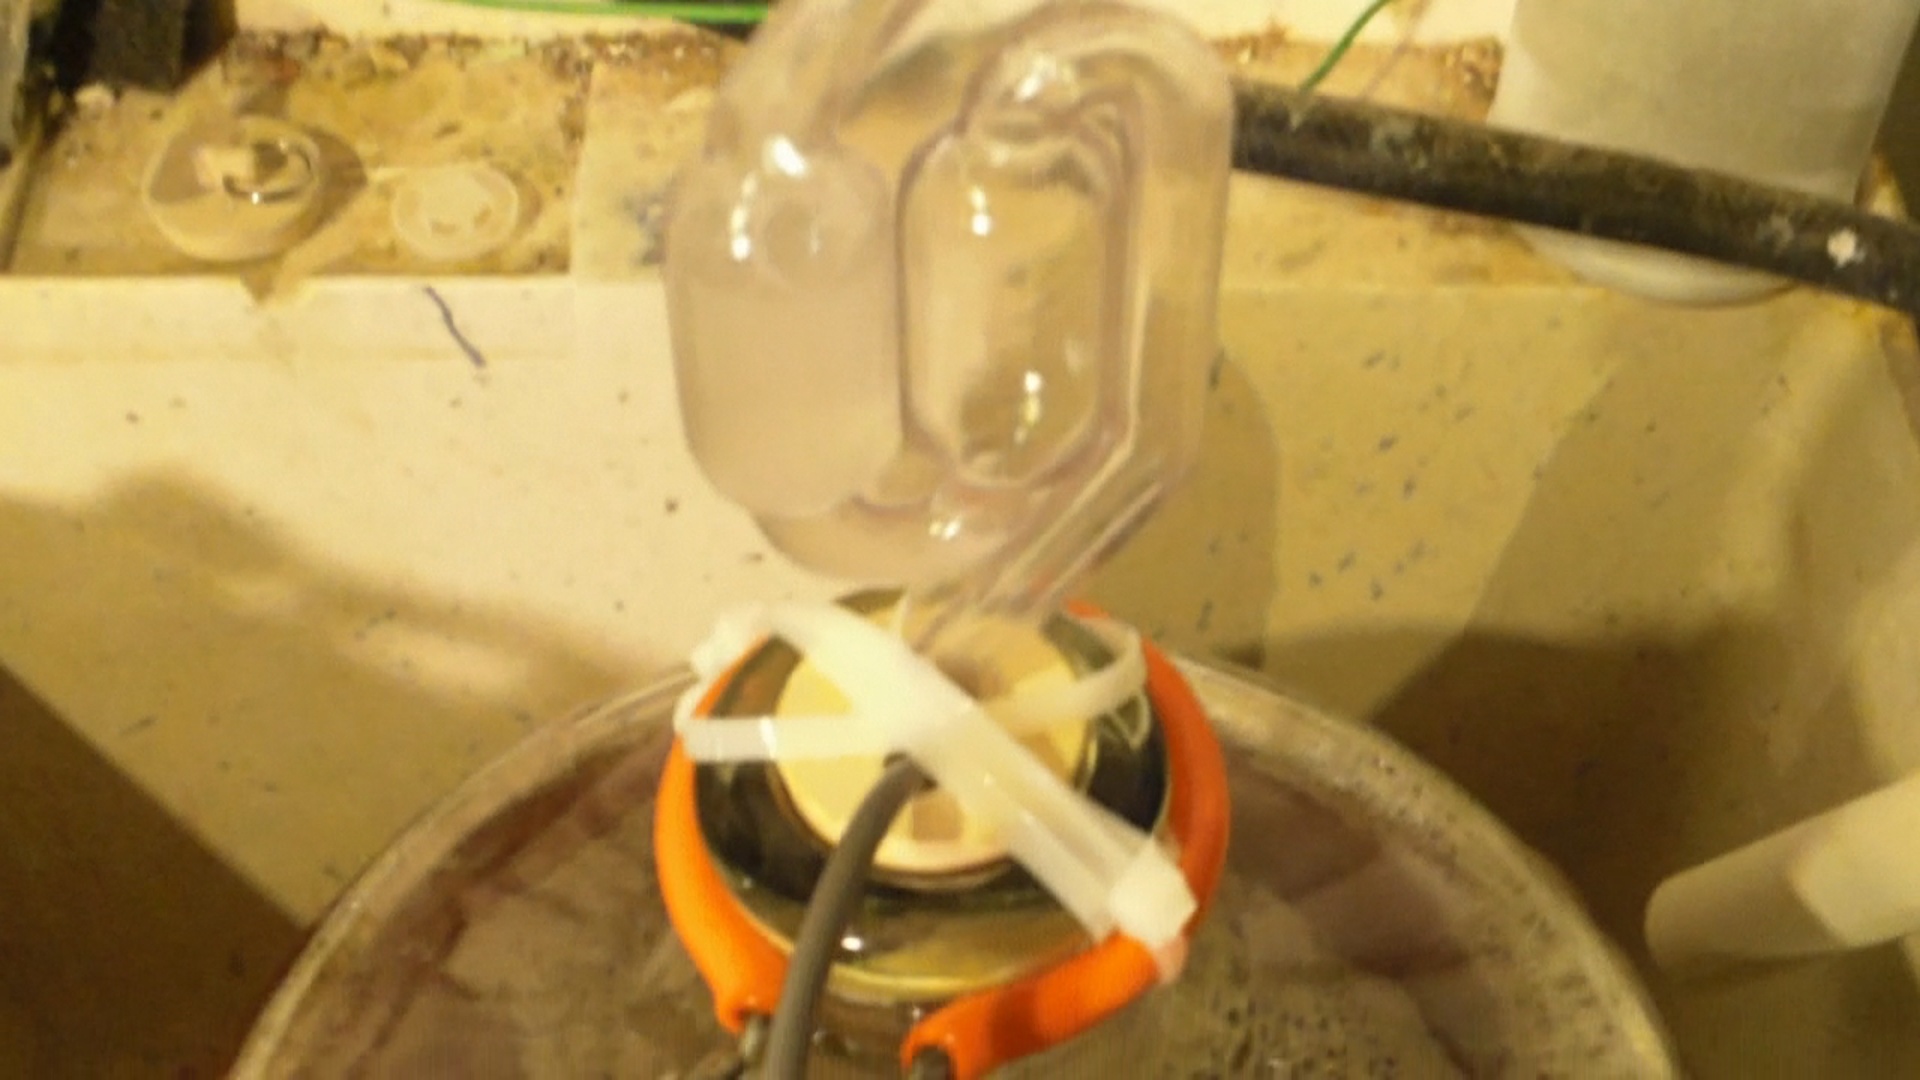
14:11 Begin racking to secondary. Afterwards, I had to use a whole bunch of zip ties to keep the stopper in place. I think it is just really wet from the sanitizer. There is also some residual Star San from sanitizing, so it’s really not bubbly from the racking process.
Overall, as far as what I racked out, five gallons is right at the bottom of the first ridge of my carboy and we’re just a hair above. We’re looking really good on our volume. Everything is back together; the heater is sitting at 70 deg. F, so I’m going to cover it up and let it sit for a week or so.
15:22 Okay it is December 13th and we’re getting ready to take a gravity reading and package it today. We started this back on November 17th and we racked it to the secondary on November 29th, so it’s about that time. This is some super clear beer and looks great. It came in at 5.12%, ABV so it’s pretty good (a bit low), but the gravity did not hit right on either. I think it’s pretty good, now I’m going to package it up.
Racking to the Keg
16:40 Time to package this up to the keg. After, I’m going to hit the keg with about 30lbs of pressure to seal it up, clear the head space about five times, cold crash it, force carbonate, then let it sit and condition for a week or two and it should be good to go.
Tasting
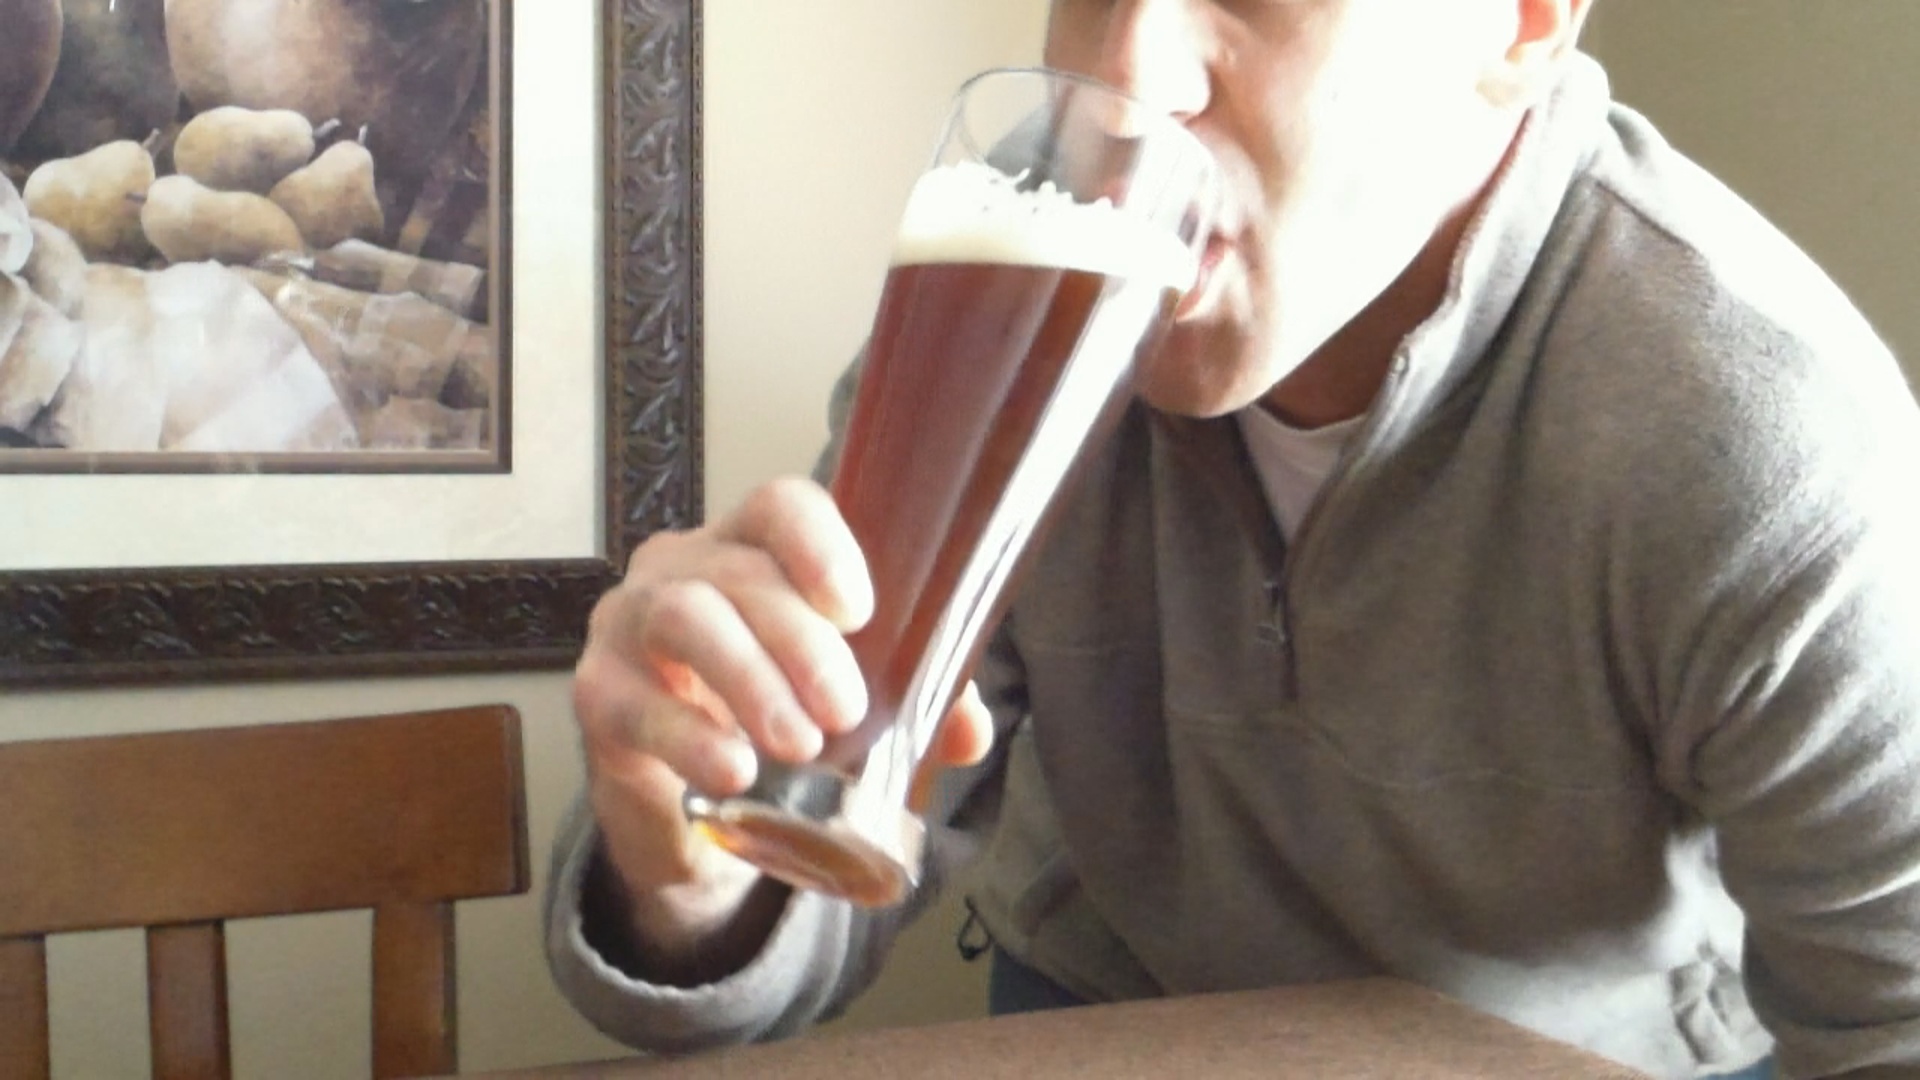
17:55 So this is Jamil’s Evil Twin. It came in at 5.12% ABV and it is a great beer; I will definitely be brewing it again. The color is good, and the hop aroma is awesome.
Remember, I did this one on a stovetop, five gallons, brew in a bag, so it can be done.
Cheers!