
I made my first yeast starter using White Labs liquid yeast. Up to this point, I usually pitched dry yeast, but I wanted to try this method as well. The whole process took about about 18-24 hours to complete.
I followed the directions and tips on the White Labs website under “Homebrew Starter Tips,” only adding one additional ingredient – yeast nutrient. I read about it online, and my local home brew store also mentioned this would be a good addition. Having a stir plate would sure make this process easier, but it’s not completely necessary if you don’t have one.
Approximate times in the video are noted for reference.
Video Summary
Supplies:
- White Labs Liquid Yeast
- Water
- Light dried malt extract
- Yeast nutrient
- Sanitizer
- Ice
Today I will be doing my first yeast starter. I am going to use White Labs liquid yeast, as opposed to dry yeast that usually brew with. I probably should have gotten more than one yeast tube, however I did not research enough ahead of time to know that. After reading around, I’m just going to follow the tips White Labs has on their site under “Starter Tips Recipe”. The only alteration I’m making to the recipe is an addition of yeast nutrient that the home brewing store mentioned would be worth it.
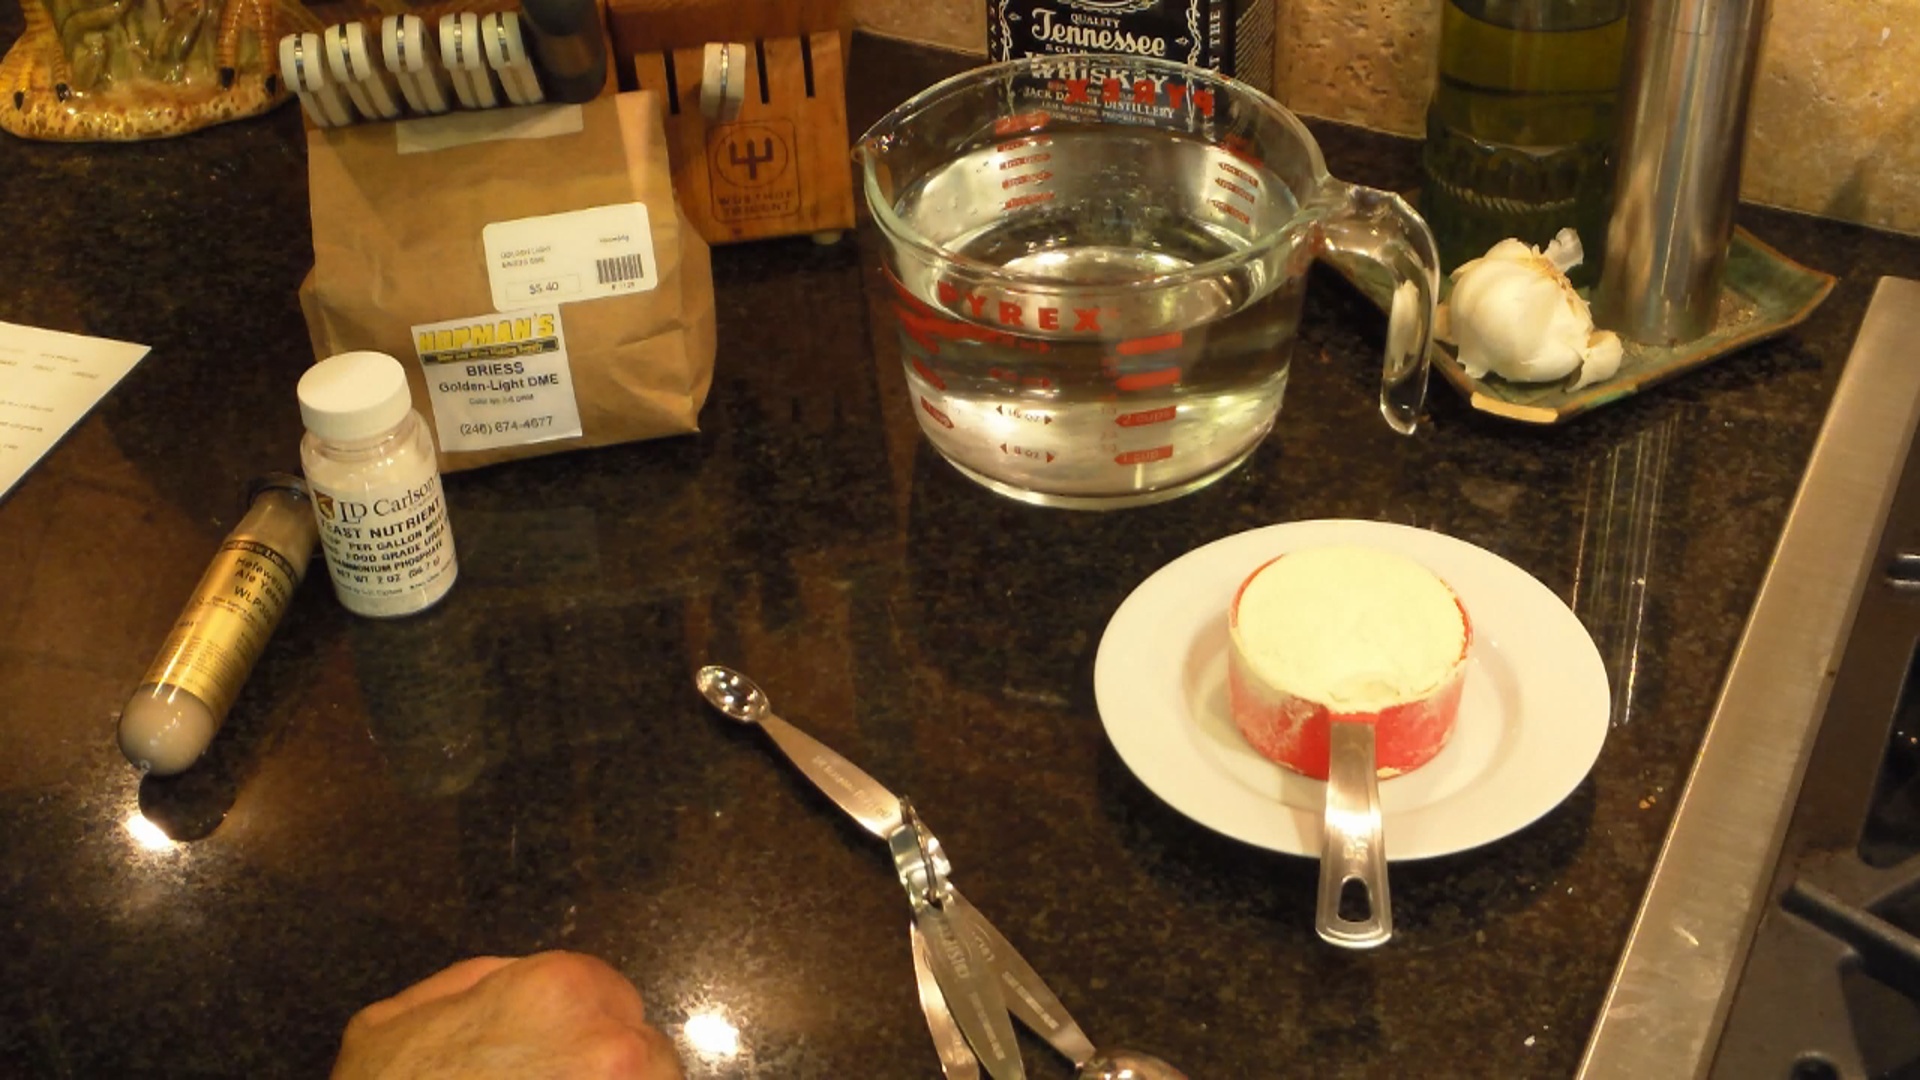
1:22 First begin with two pints (or one quart) of water. Then a half a cup of light dried malt extract (DME) and a quarter teaspoon of yeast nutrient. I mix together the nutrient, water, and dried malt and boil for about 10 minutes to sterilize. Then I cover and cool the pan to room temperature (between 70-75 degrees) on an ice bath. Once it is cooled down to the right temperature I will pour it into a sanitized container and pitch the vile of yeast. Make sure to sterilize everything before you begin.
4:22 I had to add a lot of ice to the bath to keep it cold, but I have cooled it down to 72 degrees. I now will transfer the mixture over to a large jar and vigorously shake the container of yeast in order to dissolve as much oxygen as possible. Once the shaking is complete, open the top very slowly so it does not foam up, unfortunately mine still foamed, luckily I was above my jar anyways.
5:44 Now I cover the top of the container with my sanitized piece of aluminum foil and keep it loosely on the container. Keep the container at room temperature and if you have a magnetic stir plate use it, however I do not so I will occasionally shake it to keep the solution aerated for 18-24 hours.
Note: The reason I wanted to make this now is because the yeast was shipped to me (I did not buy it local) but it was supposed to be shipped with an ice pack that I paid for and they forgot to include it. So it was roughly 85 degrees the whole trip, plus whatever the trucks were at. I’m a little concerned about the viability, but since it only took two days to ship I think I will be okay – we’ll see.
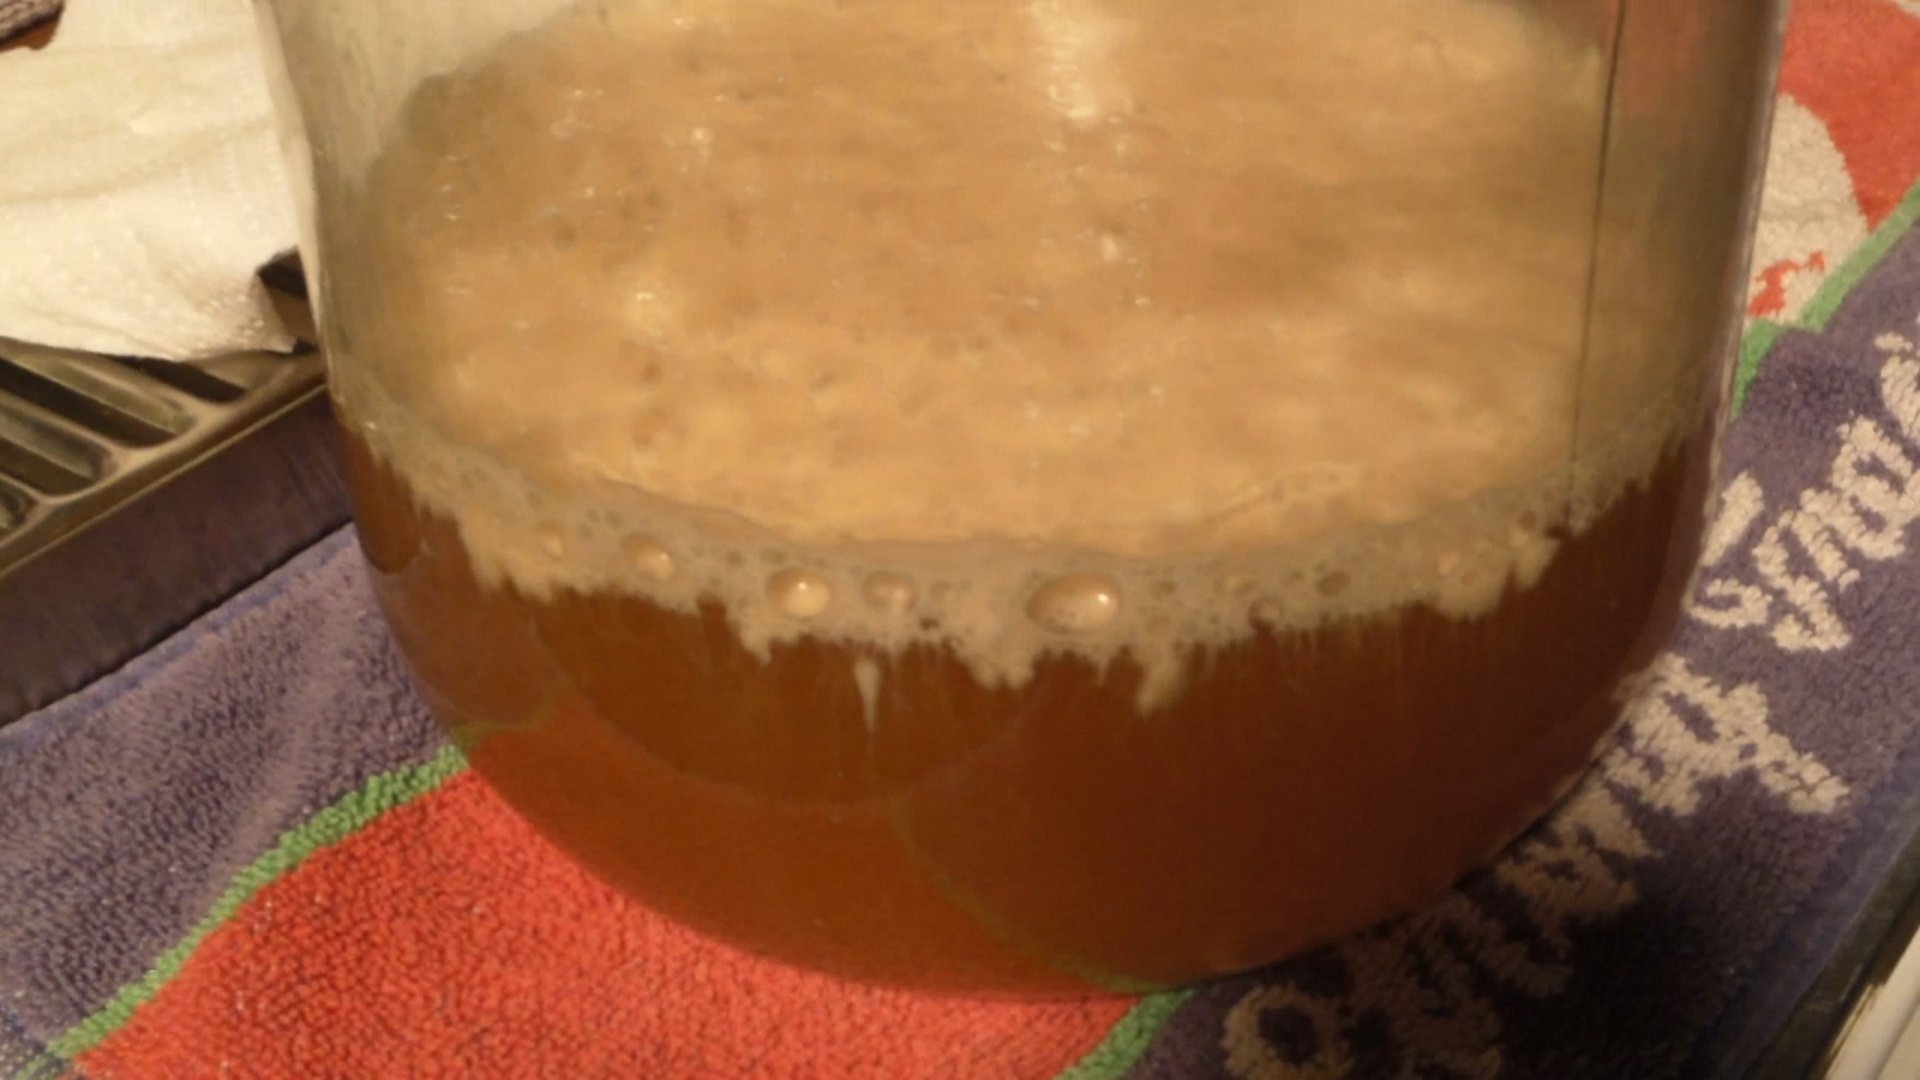
7:20 Seven hours later and there is definite activity and it looks good. At 15 hours later everything still looks great. I shook it about every hour to get the oxygen up. The more I read the more I believe I should have made more, but we shall see when I pitch it.