
I recently upgrade my brew kettle with a shiny new sight glass. I have experienced some difficulty getting accurate readings using just my paddle with stainless steel hose clamps (they also look kind of cool), so I decided to install a sight glass.
At my local homebrew store I found a stainless steel borosilicate sight glass that I will be installing. I have to install this to my kettle with an eye bolt at the top to keep it stable. I also need to ensure this new addition does not interfere with other aspects of my kettle, as well as fully leak test it.
Approximate times in the video are noted for reference.
Video Summary
I have decided to upgrade my kettle with a sight glass. When I first set my kettle up I did not want to have an extra thing to clean or that would leak, but I haven’t had any trouble with anything yet. Since it has been difficult getting accurate readings with just stainless steel hose clamps on my paddle, I have decided to install a glass sight glass. I found a glass stainless steel sight glass that I will be using, from my local homebrew supply store. It’s 16″ long, which will leave me with an extra inch above the top of my kettle once I’m done.
It comes with an adapter that goes into your kettle. You need to thread it into a bulkhead fitting. You can add a thermometer to the front if you want, otherwise it comes with a plug to seal the hole. I could put it in front of my 3-piece ball valve, but then there will be too much weight tilting it forward, so I’ have decided to put a new hole in the kettle to mount it.
The finish on the inside of the fitting it came with needs some work to clean up some of the welding slag during its production. So I’m filing down as much as I can to clean it up. I definitely should have looked at it better before purchase; however I must work with what I have now. Next time I will pay more attention. I’m also using plumber’s abrasive sand cloth, placed it on something that fits inside, and then I can file it down and clean it up even more.
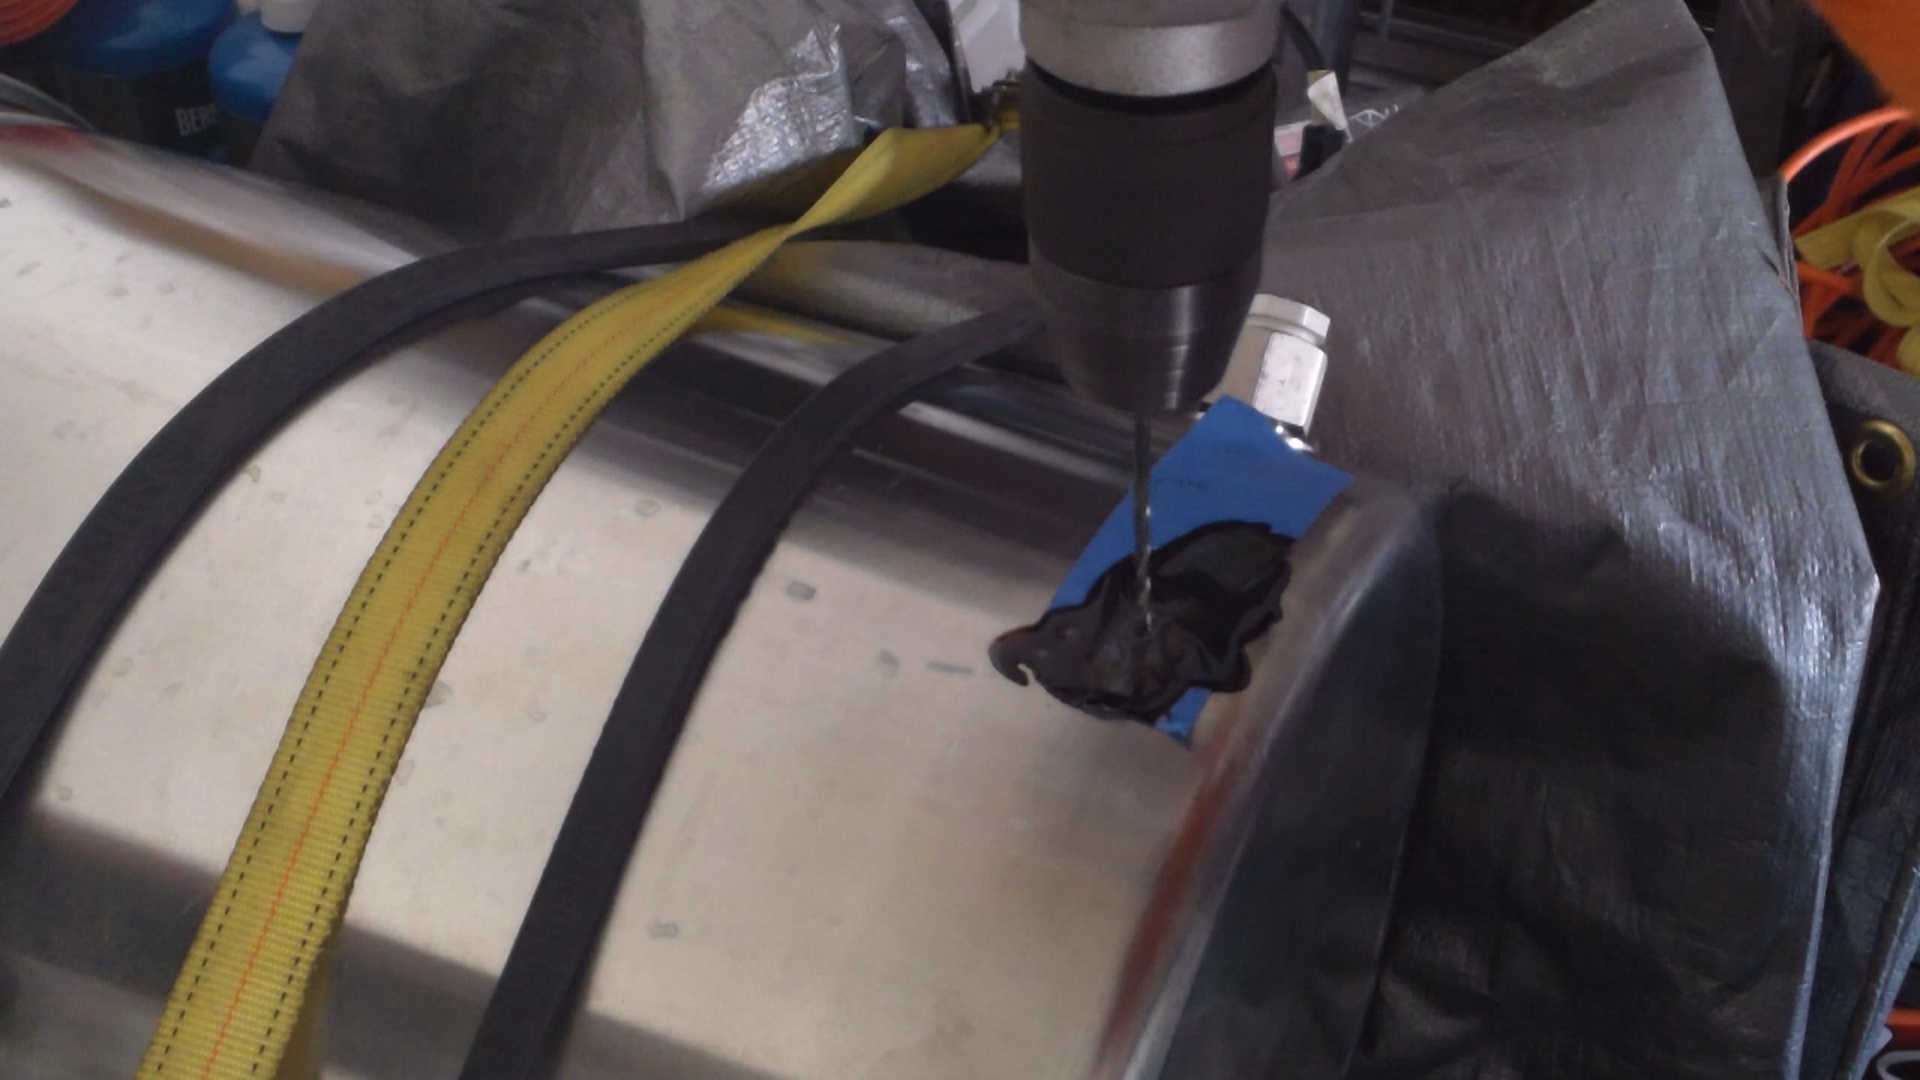
4:00 I have marked my kettle with blue tape as low as I can go. I drew a mark to start drilling my pilot hole. I have to be careful it’s not too low, because if I want to add a washer later, the washer may end up not fit properly. I like to drill this kind of stuff with downward pressure, so I strapped my pot to my workbench to keep it stable. I have my pilot bits, step bit, and cutting oil.
6:00 I’m going to start by lubing up the pot with cutting oil and drilling a pilot hole; very slowly. Listen for screeching, because that’s a sign you must add more cutting oil. Then I increase the bit size until I reach the proper size to begin using my step bit. Keep the pressure nice and even and the speed constant and slow. Use a drill with a lot of torque.
9:00 Now that the hole is drilled and the piece fits, I’m going to take it off, clean up the oil, then run a grinding stone on the hole to clean it up. Then I’ll sand it down, ensuring it’s nice and smooth. My dry fit is perfect; it’s nice and tight and fits smoothly. Now that that is complete I’m going to clean the pot up really well with some OxiClean, then put everything back together, seal it, and test it.
10:00 Now to put my Teflon tape back on, I wrap it in the direction that when I tighten it back in, it also tightens the tape. After that is put back together, I add the sight glass as well. It will fit perfectly against the pot without any washer, except it will be too close to the lip on the top of the pot without one. This leaves me with two problems, the sight glass hitting the kettle’s lip and the additional overhang from the lid when I put the lid on. So I have to put something on it to push the sight glass out. To correct this I’m going to put another stainless washer with a rubber washer behind it, causing it to just clear. I will also use the same on the inside.
12:00 I will now add some water and test for leaks. Good thing I ran a test because there is a leak at the bottom. I realize my problem quickly; it’s because I forgot to add Teflon tape. After making the correction, the leak on the bottom was fixed. After leak testing more throughout the night, the only other one I found was on the top outside of the sight glass that was caused by the tightness of the nut on top compressing the rubber washers to seal the glass tight. Once I tightened it a bit more, the leaking stopped.
13:10 I have realized that I don’t like how wobbly and unstable the sight glass is because it sticks above my kettle and can also turn. With many plastic kits, they’ll put a quarter inch eye bolt up top to solve that problem. I have decided to do the same. Using a quarter inch eye bolt, I modified it by wrapping it in blue painter’s tape and slightly bending it using a vice so it will fit around the sight glass. Of course this introduces its own problem. The circle end of the eye-bolt is not in the center anymore, so I can’t easily mark it on the kettle. Drilling the hole is a onetime shot and I need to be conscious of the height and make sure this does not impede any other parts of my pot. I ensured everything is leveled up in all directions before I mark my hole.
15:50 Once everything is where I want it, I eyeball my drill mark. I’m going to push the sight glass out of the way, tape up paper towel to catch some of the cutting oil, and then drill this one straight in.

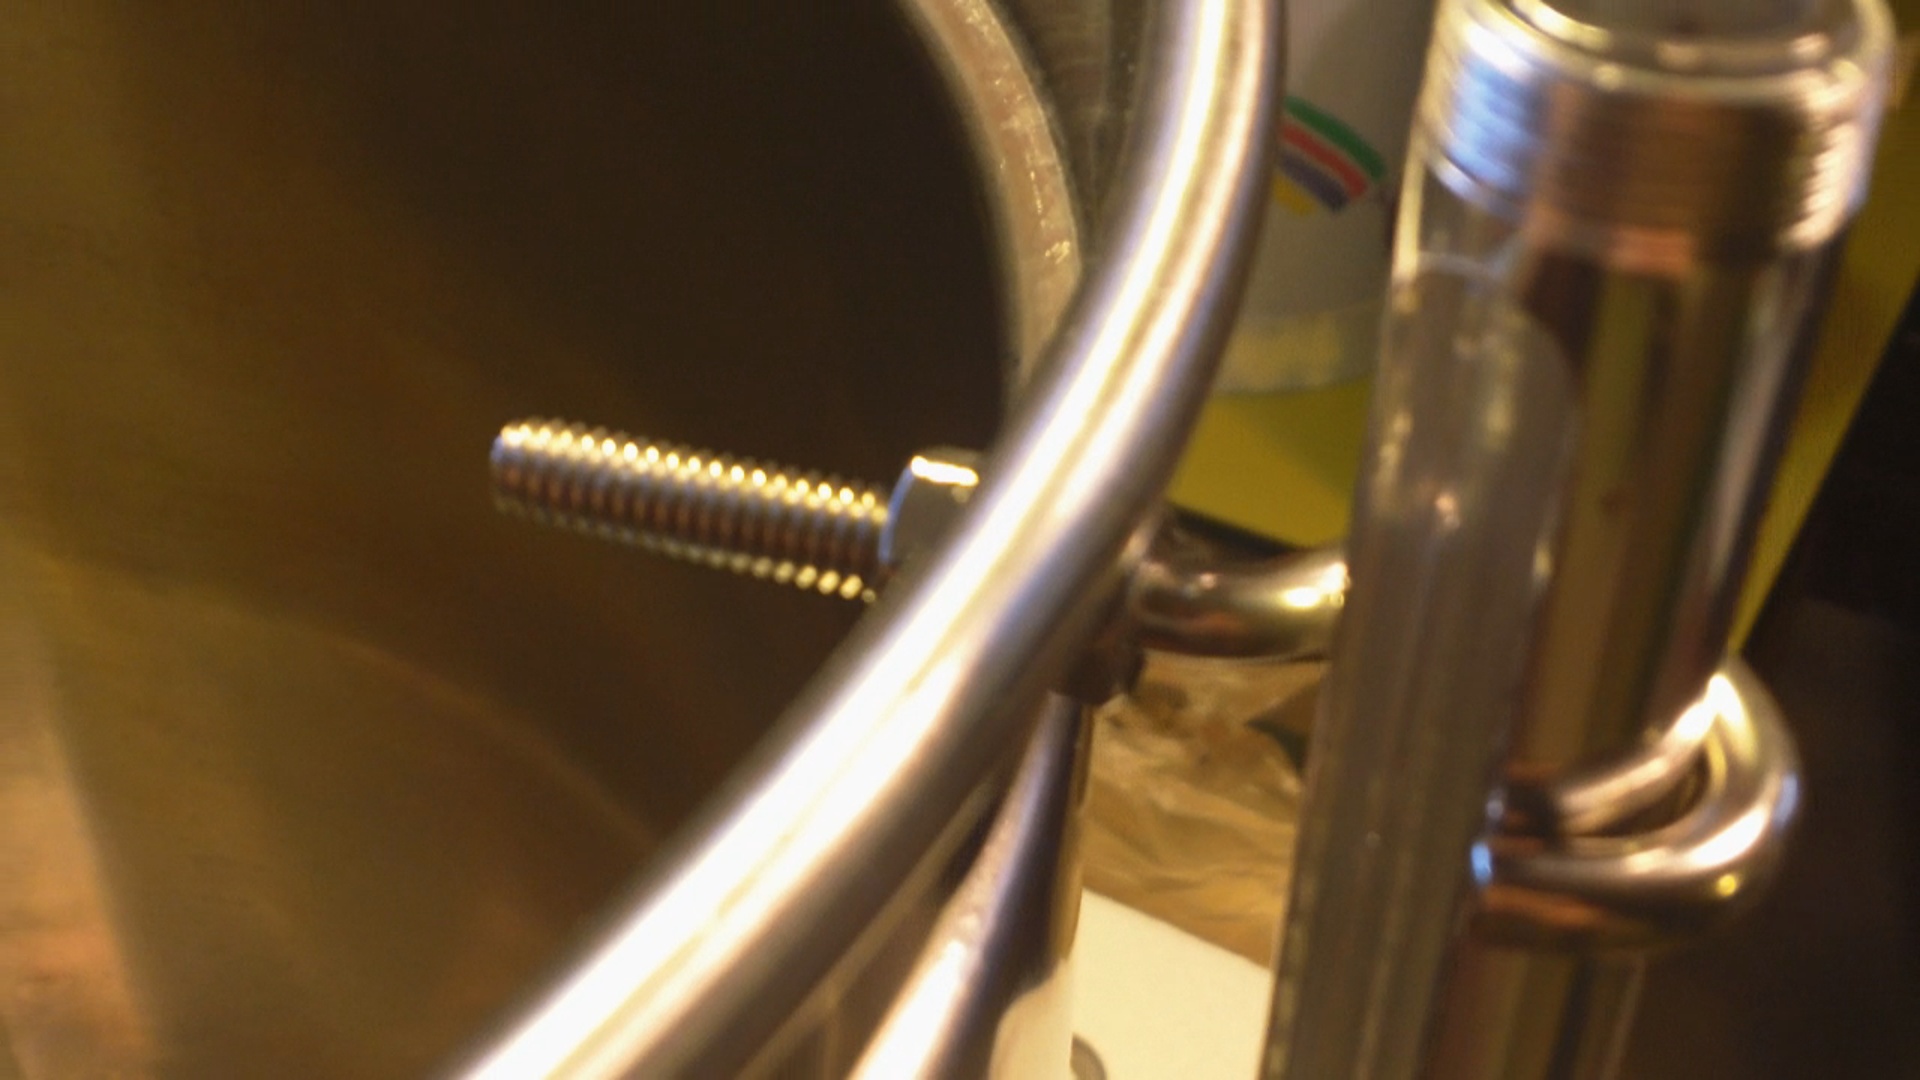
17:18 My hole is complete and looks good. I decided to get some star lock washers, all stainless, and I’m going to put one on each side of the kettle. Once it is screwed in, I put back the sight glass and fit it into the eye bolt. I check that it’s level and it looks perfect. Now I’m going to cut the bolt length inside the pot so I can still use my stainless steel basket.
18:30 The final product is complete. It was a close call with the inside bolt. I had to make sure the basket and lid would both fit and could be removed just as easily. I had to cut the eye bolt almost flush with a grinder and luckily I added the lock washers on both sides. I needed all the space I could so the flattened bolt and nut helped. While everything is a tighter fit then it was before, it still fits and works well.