
Bell’s Oberon is a classic summer American wheat ale from Bell’s Brewery in Kalamazoo Michigan. This is the Bell’s Brewery General Store’s official all-grain clone kit brewed with a Mango Habanero twist – Brew-In-A-Bag. We even did this 5-gallon BIAB brew session on stovetop due to the unexpected snowy-cold weather on brew day. For the Mange & Habanero purees, we used Amoretti Mango & Habanero Purees to help better replicate future batches compared to using fresh or canned products.
I hope you enjoy the video and give it a like – Cheers!
Video Summary
Introduction
Hey BIAB Brewers! Today we’re going to be brewing a wheat ale from a brewery called Bell’s Brewery in Kalamazoo Michigan. It’s a very famous beer, at least here in Michigan, and it’s called Bell’s Oberon. It’s a Summer Classic and we’re brewing it in the fall. Why are we doing this in the fall? Well, we happened to have been in Kalamazoo about 8 days ago when it was 72° and sunny that day. Today it is 28° windy and there’s snow all over the ground here and we’re not too far from Kalamazoo (about 2 hours away).
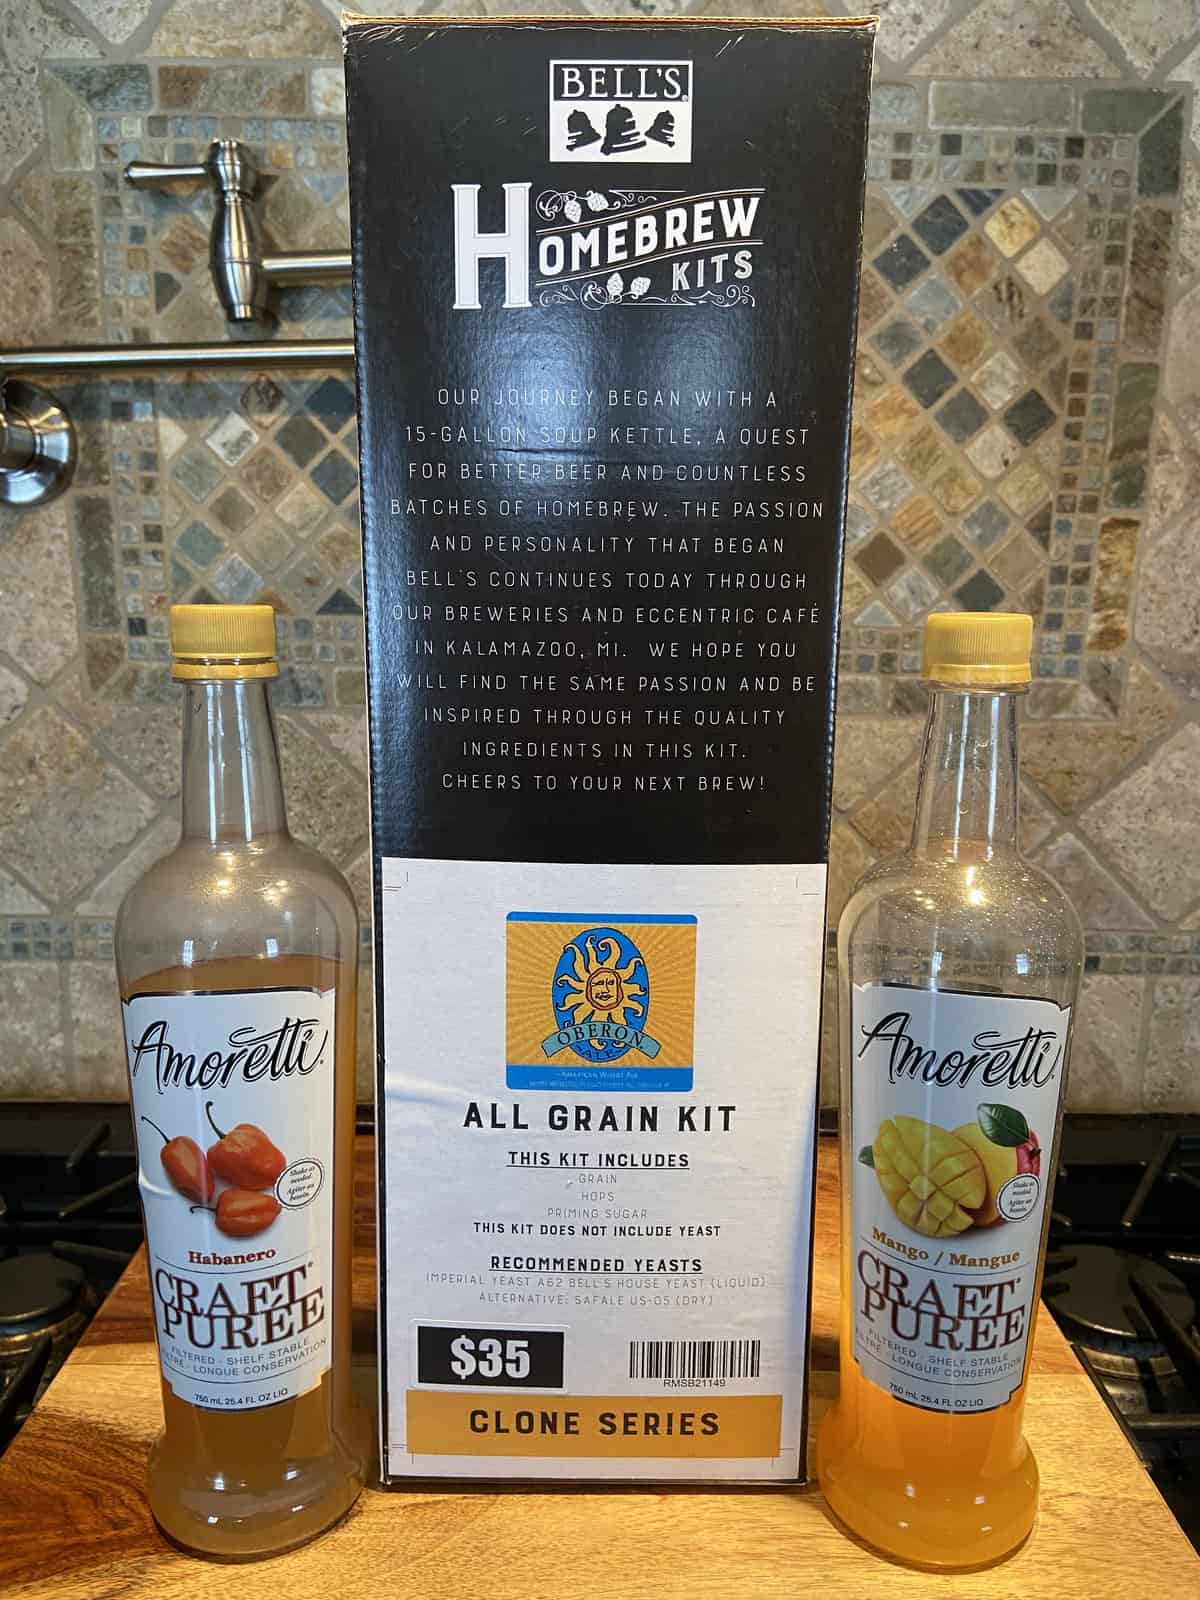
While we were there, one of our favorites is of course is Oberon, we found in their shop they had there that they have a all grain kit for Bell’s Oberon for a great price it’s their clone series so we decided heck let’s try it but why would we brew it this time of year? Well because while we were there on tap they actually had, and I had to bring some, they actually had a mango habanero version of Oberon on tap this time of year in November. So we’re pretty excited and it came in at 5.8% ABV so we figured heck, let’s try that.
So the plan was of course to brew it outside but of course it’s too cold so instead I’m gonna brew it inside. I’ve done this before, we did Jamil’s Evil Twin on stovetop. You can see that video, I’ll post a link to it. It takes longer inside for sure but actually the temps are easier, obviously, to maintain so that’s what we’re going to be doing today. So we’re getting excited and we’re going to get started.
Recipe & Ingredients
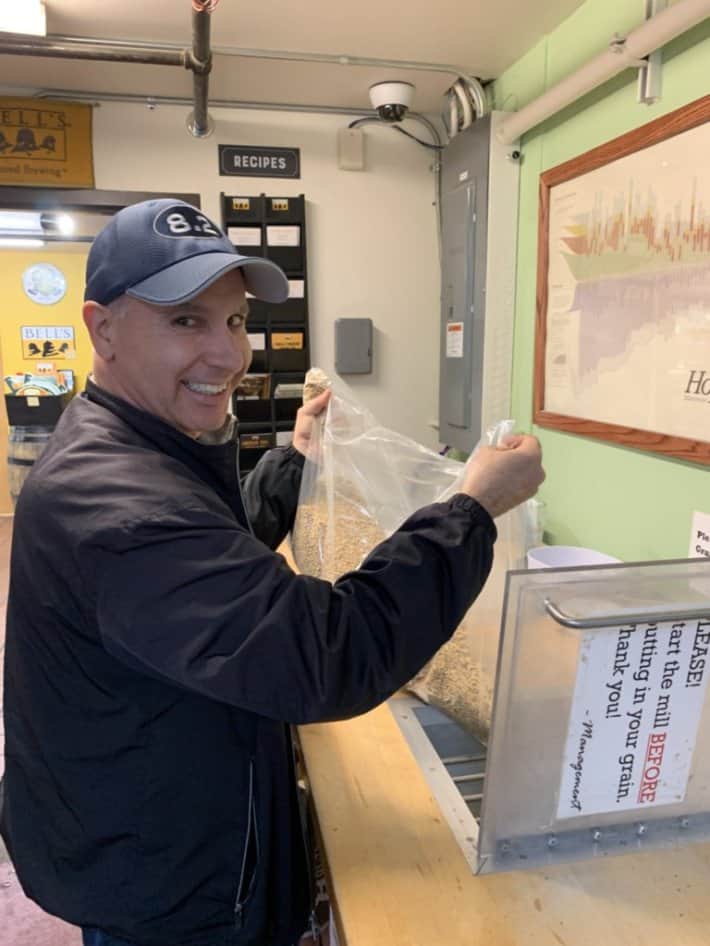
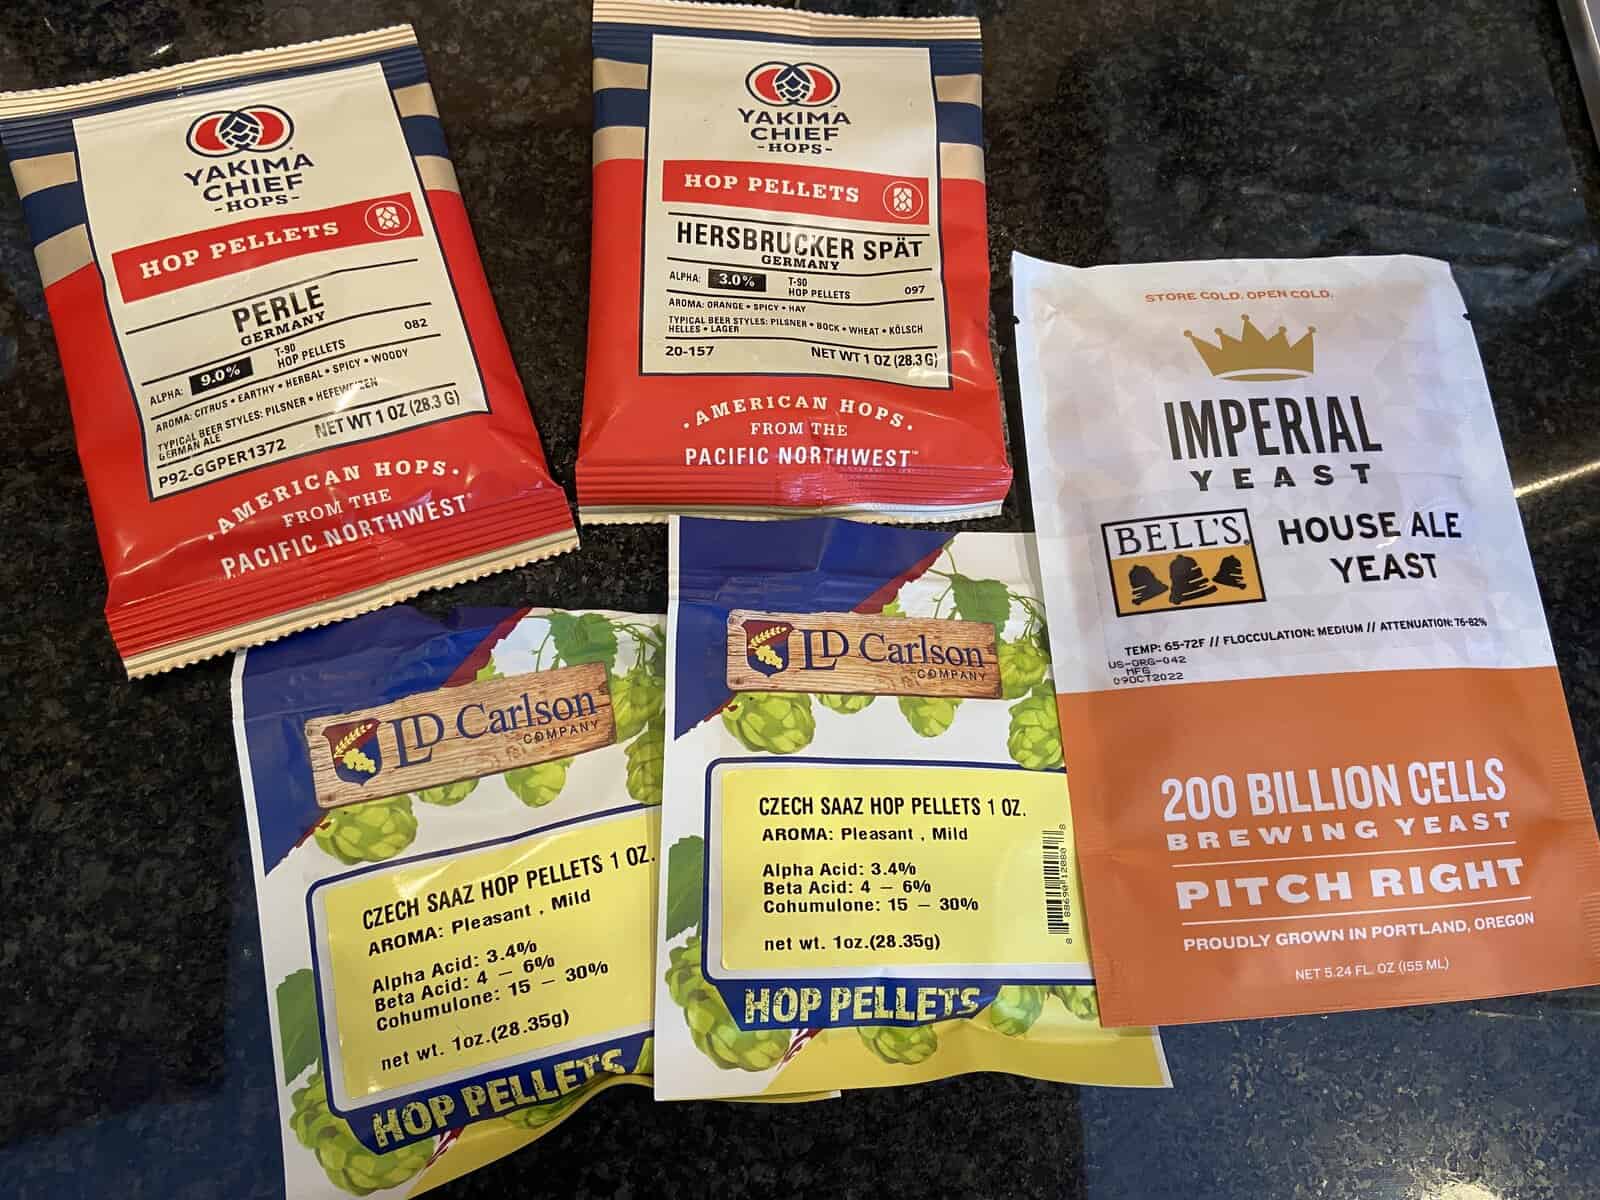
So here are some of the ingredients that come in the kit. The yeast is separate, you can use a dry yeast, I don’t remember which one they specified (Fermentis Safale US-05 Dry Yeast) but I can put a link to the recipe there but of course you want to use their house yeast for sure because that I know that has a big part of the flavor of this brew here and you also get to when you get the kit, it has the grains already in it – they send you to the back, you get to crush them yourself, so I double crushed them there and it was pretty easy to do and fun.
Ingredients:
6 lbs. 2-Row Malt
5 lbs. White Wheat Malt
0.50 lb. Munich Malt
0.50 lbs. CaraPils Malt
1 oz. Perle Hops (60 min.)
1 oz. Hersbrucker Hops (30 min.)
2 oz. Saaz Hops (Flameout)
Recommended yeast options:
1. Imperial A62 Bell’s House Yeast (use this one if at all possible)
2. Fermentis Safale US-05 Dry Yeast
After about 5 days of fermentation, add the Mango and Habanero and wait at least one week for the flavors to infuse before cold crashing and packaging.
Mango Puree:
0.5 – 1 pound per gallon. If using fresh fruit then double it.
I used Amoretti Mango Craft Puree
Habanero:
Mild: 2-6 grams per gallon
Medium: 5-15 grams per gallon
Hot: 15-20 grams per gallon
I used Amoretti Habanero Craft Puree
5.8% ABV
Mashing
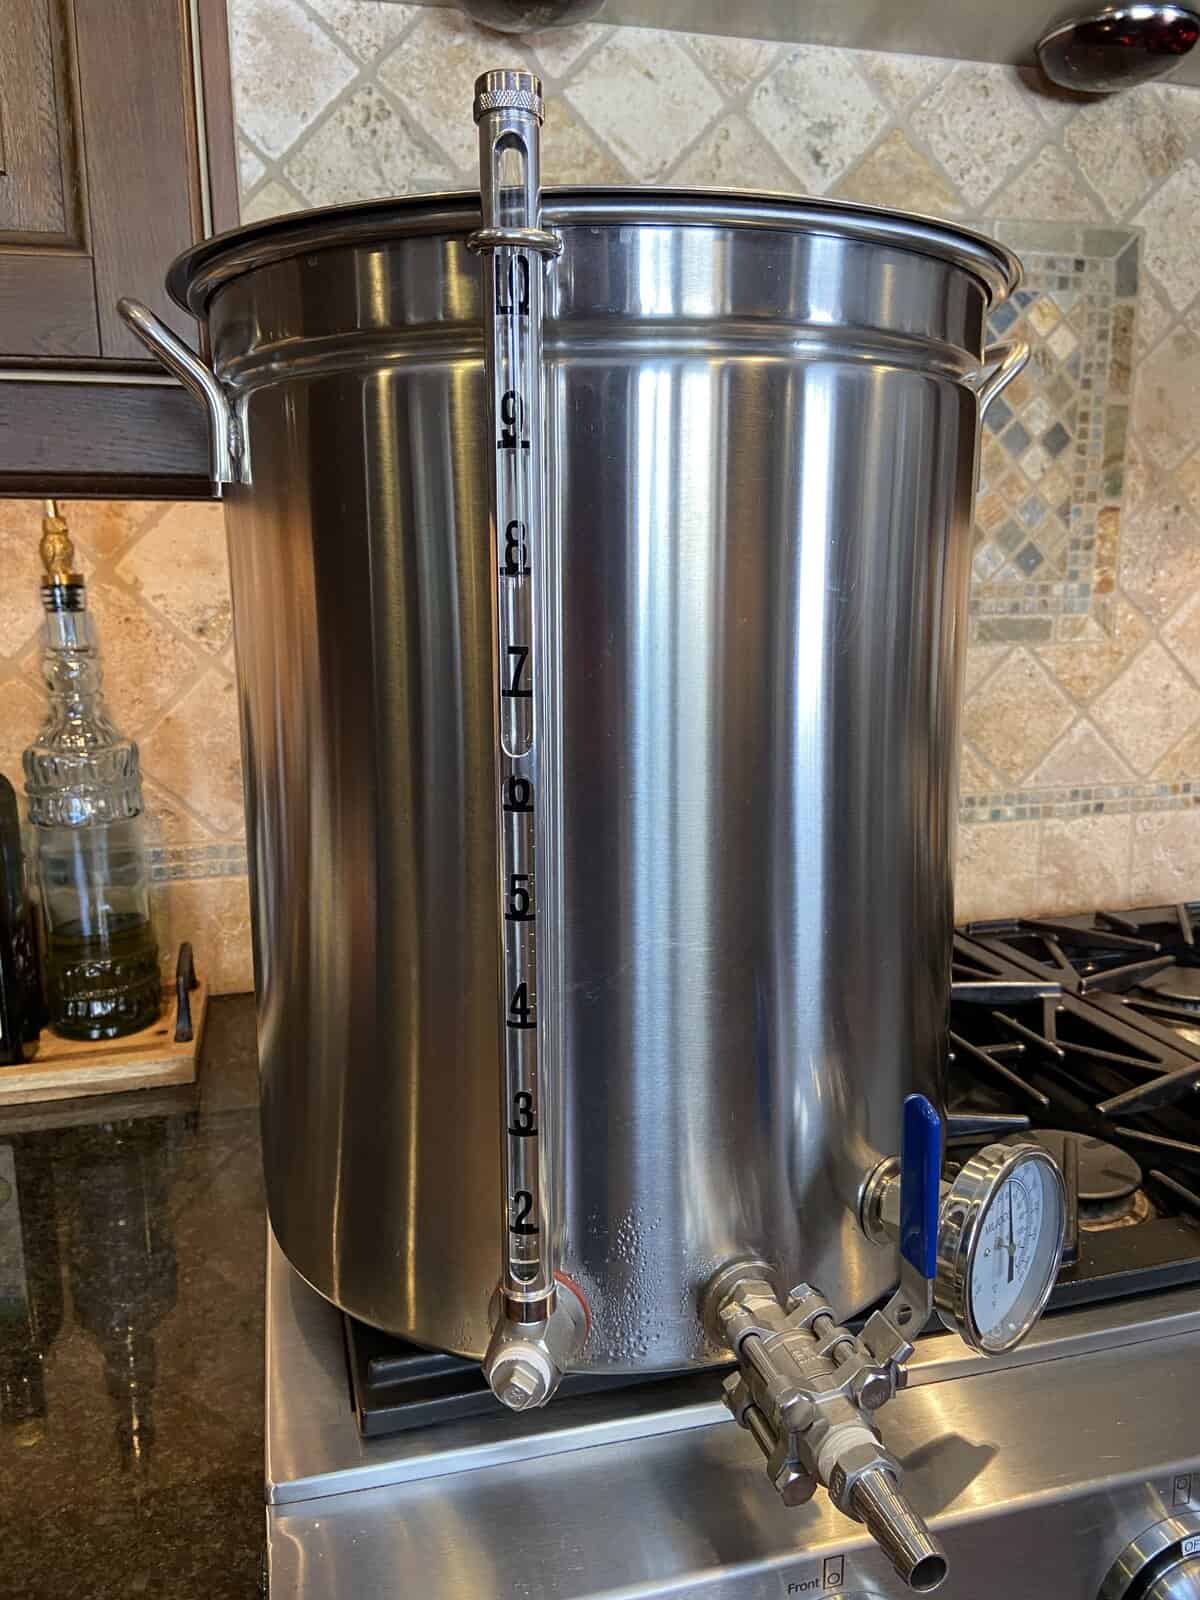
Okay when you’re ready to go, just go to our website if you don’t have a brew in a bag calculator and calculate your water requirements and get the kettle filled-up. This is showing I need 7.9 gallons of water so we’re going to get started and once it’s there we need to begin heating the strike water to 156.5° (per the calculator so yours may be different).
Our strike water is ready. Lets get our bag in, get our clips on and stir all the clumps out. Here we go, we have our timer set for 90 minutes.
The 90 minute mash is complete. Give it a stir and you should have been stirring it periodically. I just fired-up the burner and we’ll bring it up to 170° for a mash-out for 10 minutes.
The mash-out is complete. We’ll give it a quick stir here and then we will pull the bag. It’s definitely not easy in here to do this.
Okay, the bag’s been pulled. Give it a quick stir – I fired up the kettle already. Checking my pre-volume level and gonna take my first sample out. We’ll let this cool down and see where it’s at.
Boiling
We’re going to get this to boiling temp and boil for 90 minutes. Close to the hot-break but not there yet. We are now boiling.
It’s time for our first hop addition. This is going to be at 60 minutes. Now it’s time for our next hop addition. This is at 30 minutes and the last one is going to be at flame-out. It’s time to sanitize our chiller, coming into the last ten minutes here. We’re also going to clean the lid and sanitize that as well. Okay, we’re at flame-out. We’ve got our last hop addition, this is going to be 2 ounces. This is called a hop stand and they didn’t specify how long to do it, so just from what I know about the way the beer is. I’m assuming it’s just aroma so I’m going to drop it in here for 15 minutes and then we’ll continue to start the cooling process.
Transferring to the Primary Fermenter
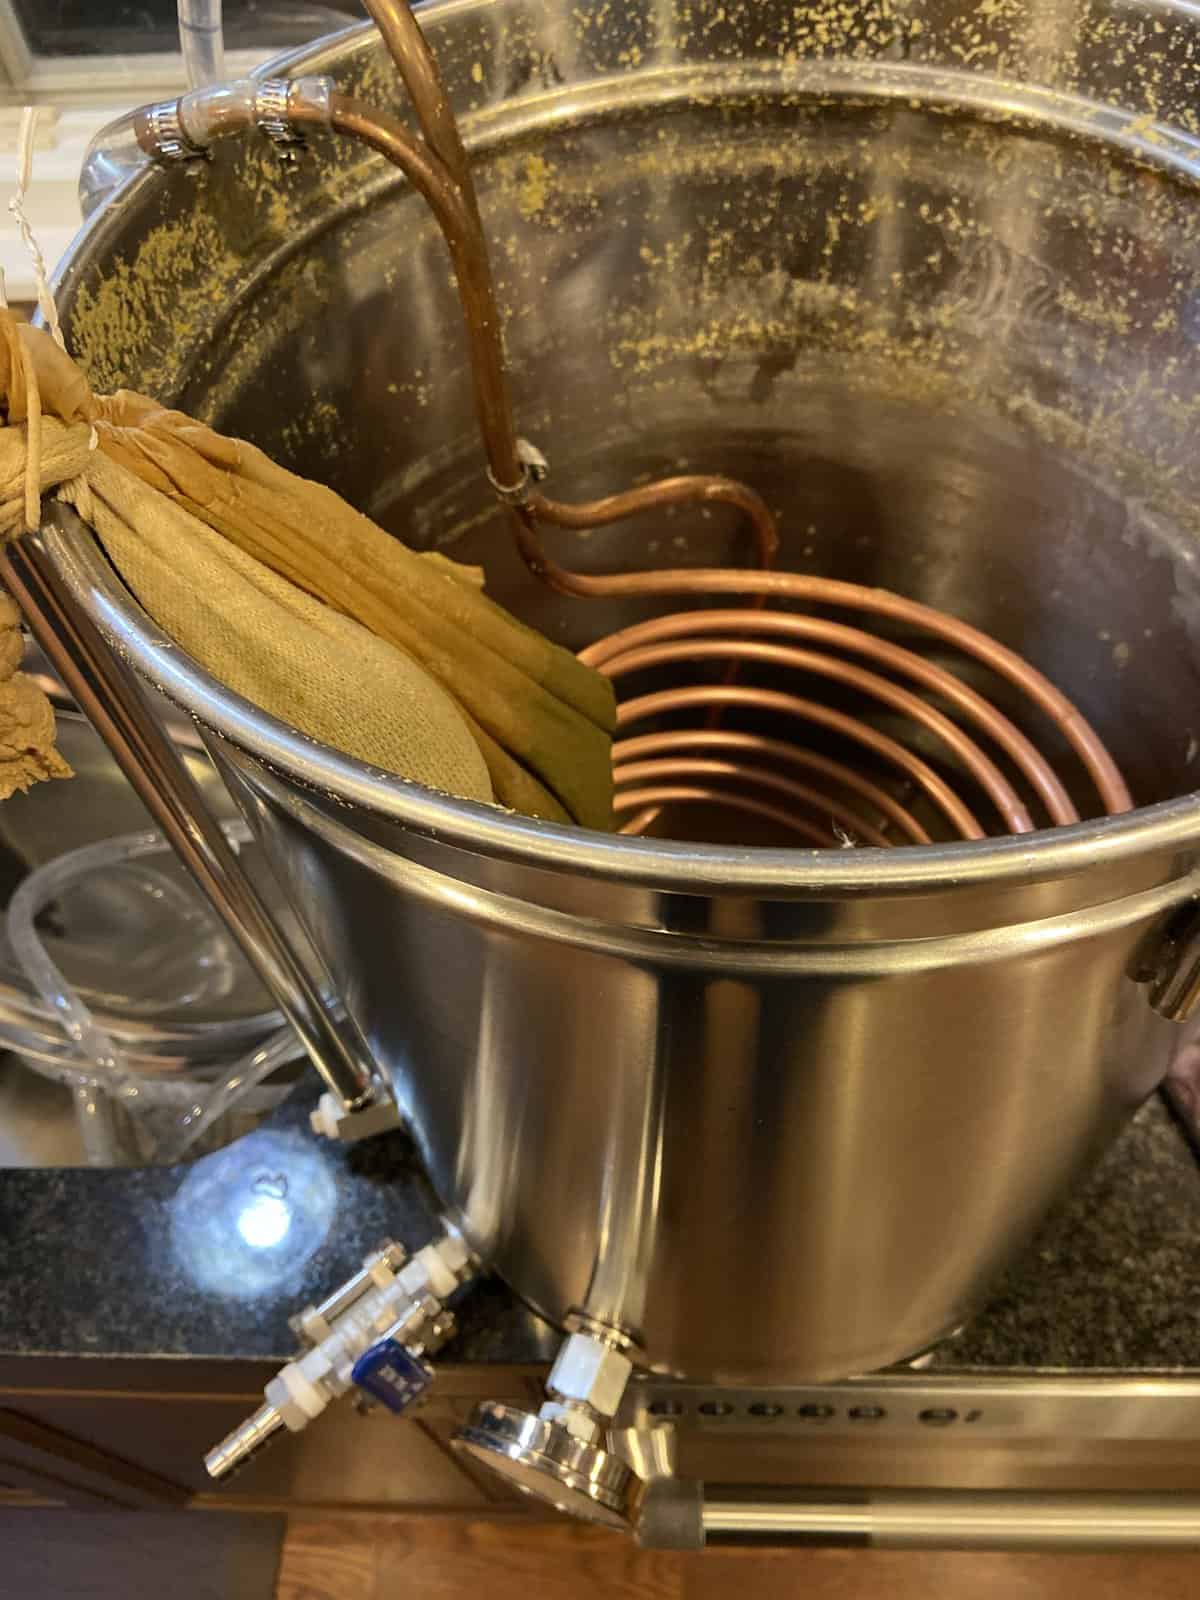
We’ve moved the kettle away from the stove and put it on a stand and I’ve got my wort chiller in there. When I brew inside, which isn’t

often, I have this little adapter for our sink that I bought so I can adapt the hose to it. We’ll let it run. It looks like our level has come way down, under six gallons, so we might just hit our five and a half gallons; so that’ll be great – we’ll be right on. So I will let this run for a while getting everything sanitized. At this point I’m going to spray everything down and we’ll catch up in a few before pitch.
Okay we’re all cooled down to 70.1° so we’re good I think. We needed to be between 65° and like 72°, or something like that, so we’re at 70.1° so we’re good to go. Everything has been sanitized don’t forget to sanitize everything so it’s all been sanitized. Our level has definitely come way down. We’re just at 5 and a half gallons now so we might end-up a little short. Who knows but we’ll find out. It’s time to get it transferred over and we’ll aerate too while we’re
doing it. These silicon hoses are great for aerating. We’re just at the 5 gallon mark which is a little tight.
Pitching the Yeast
Alright, here’s our yeast. This one specifically tells you to store cold and open cold. You’re not supposed to pull it out early, I even read this online from their site. I almost pulled it out early but you
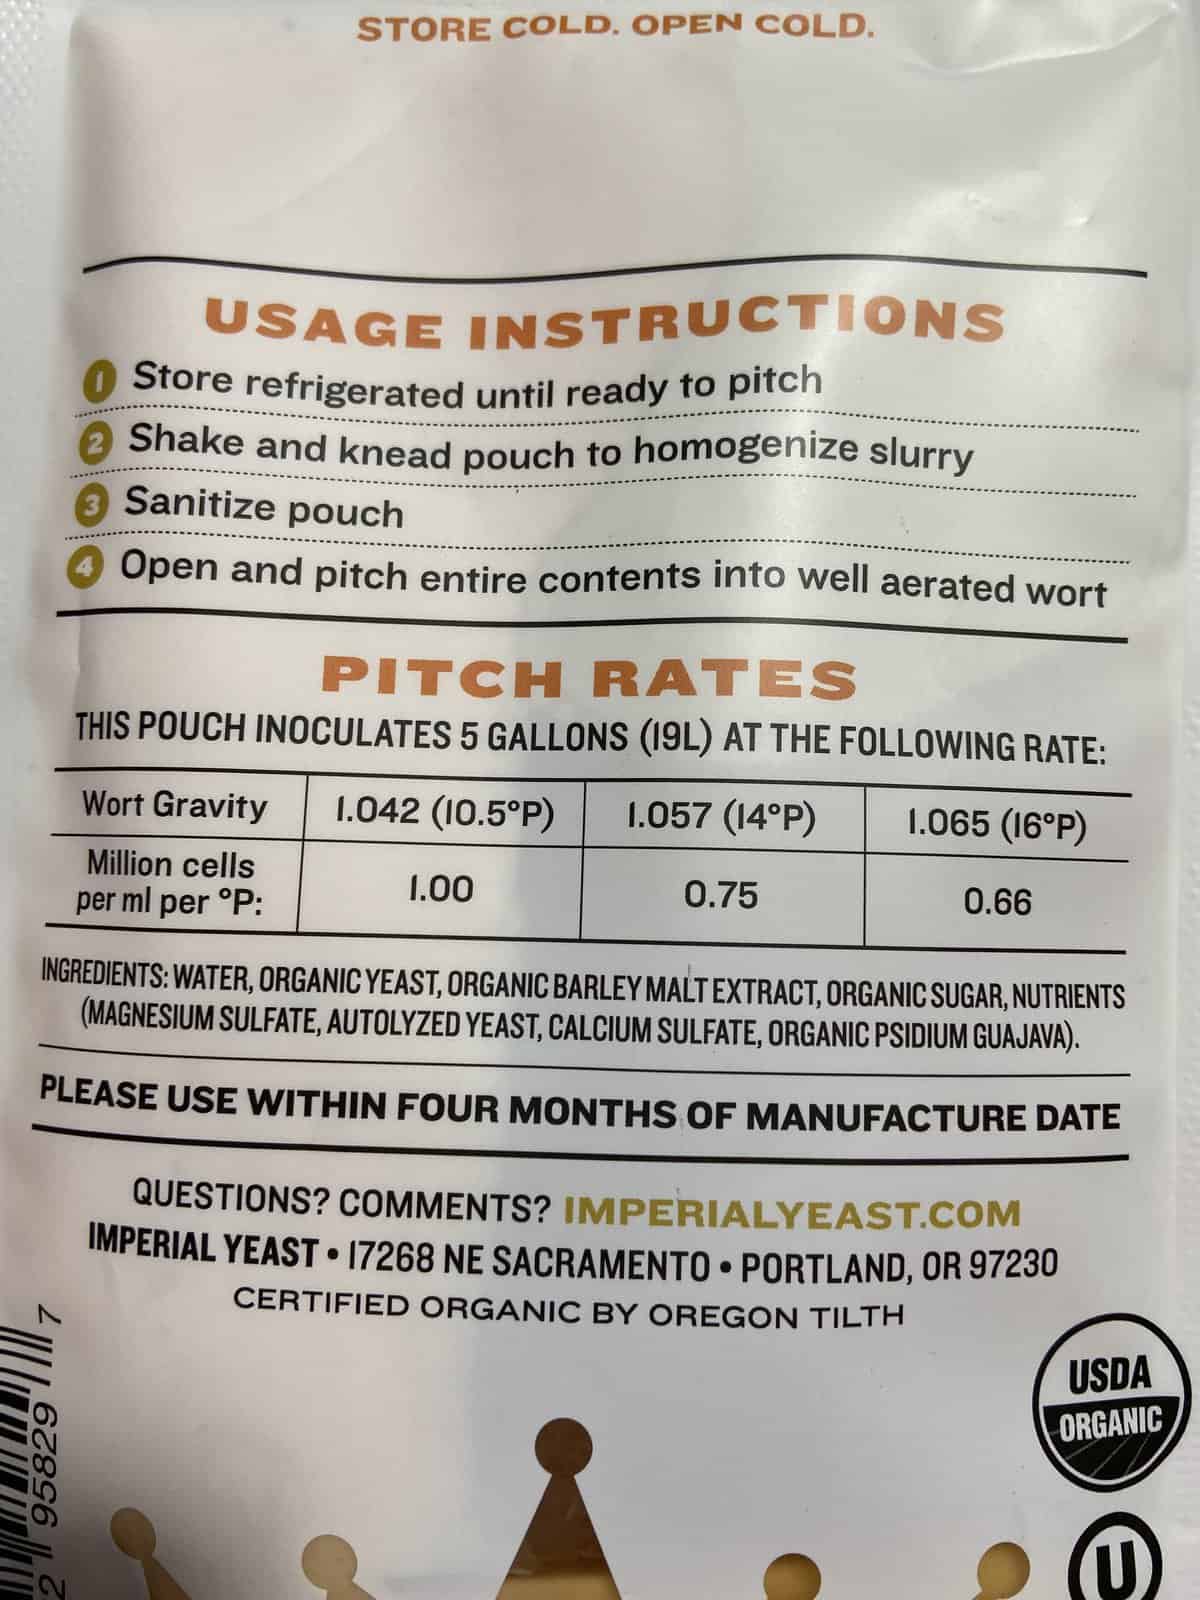
do not do that. I’ve already been shaking this and kneading it and getting it ready.
Fermentation
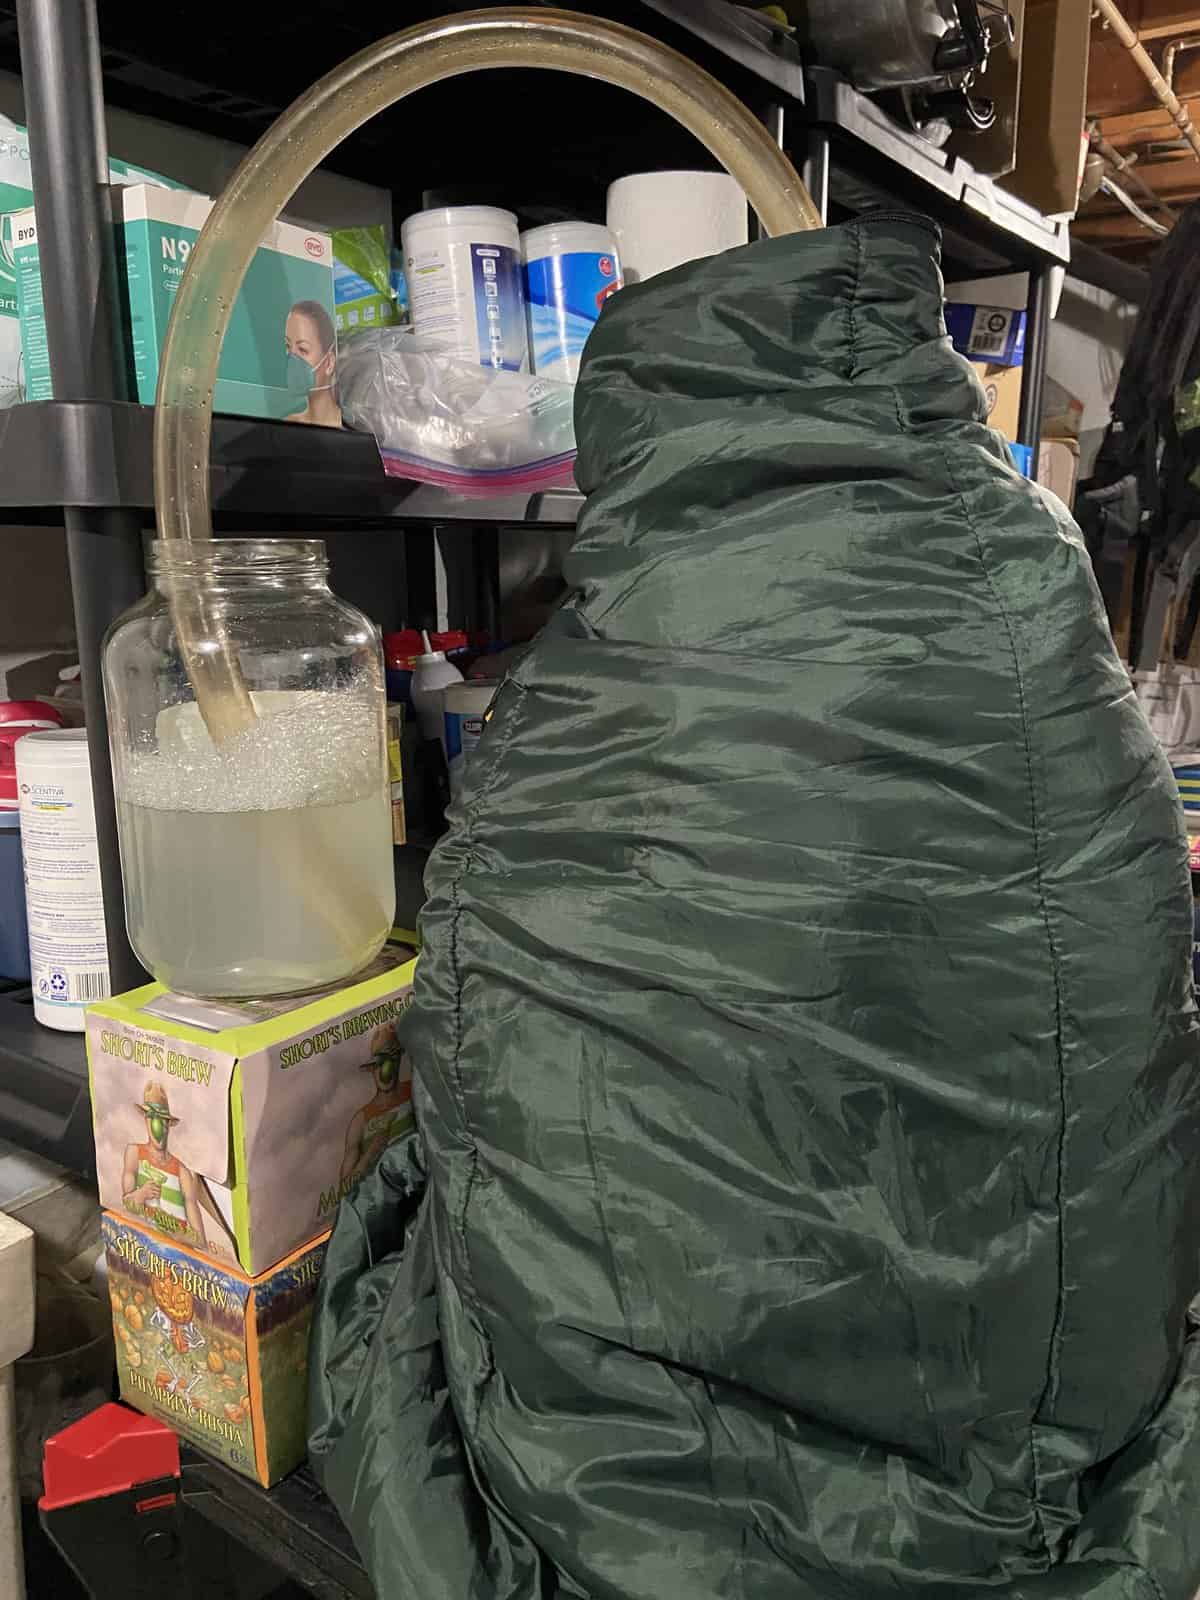
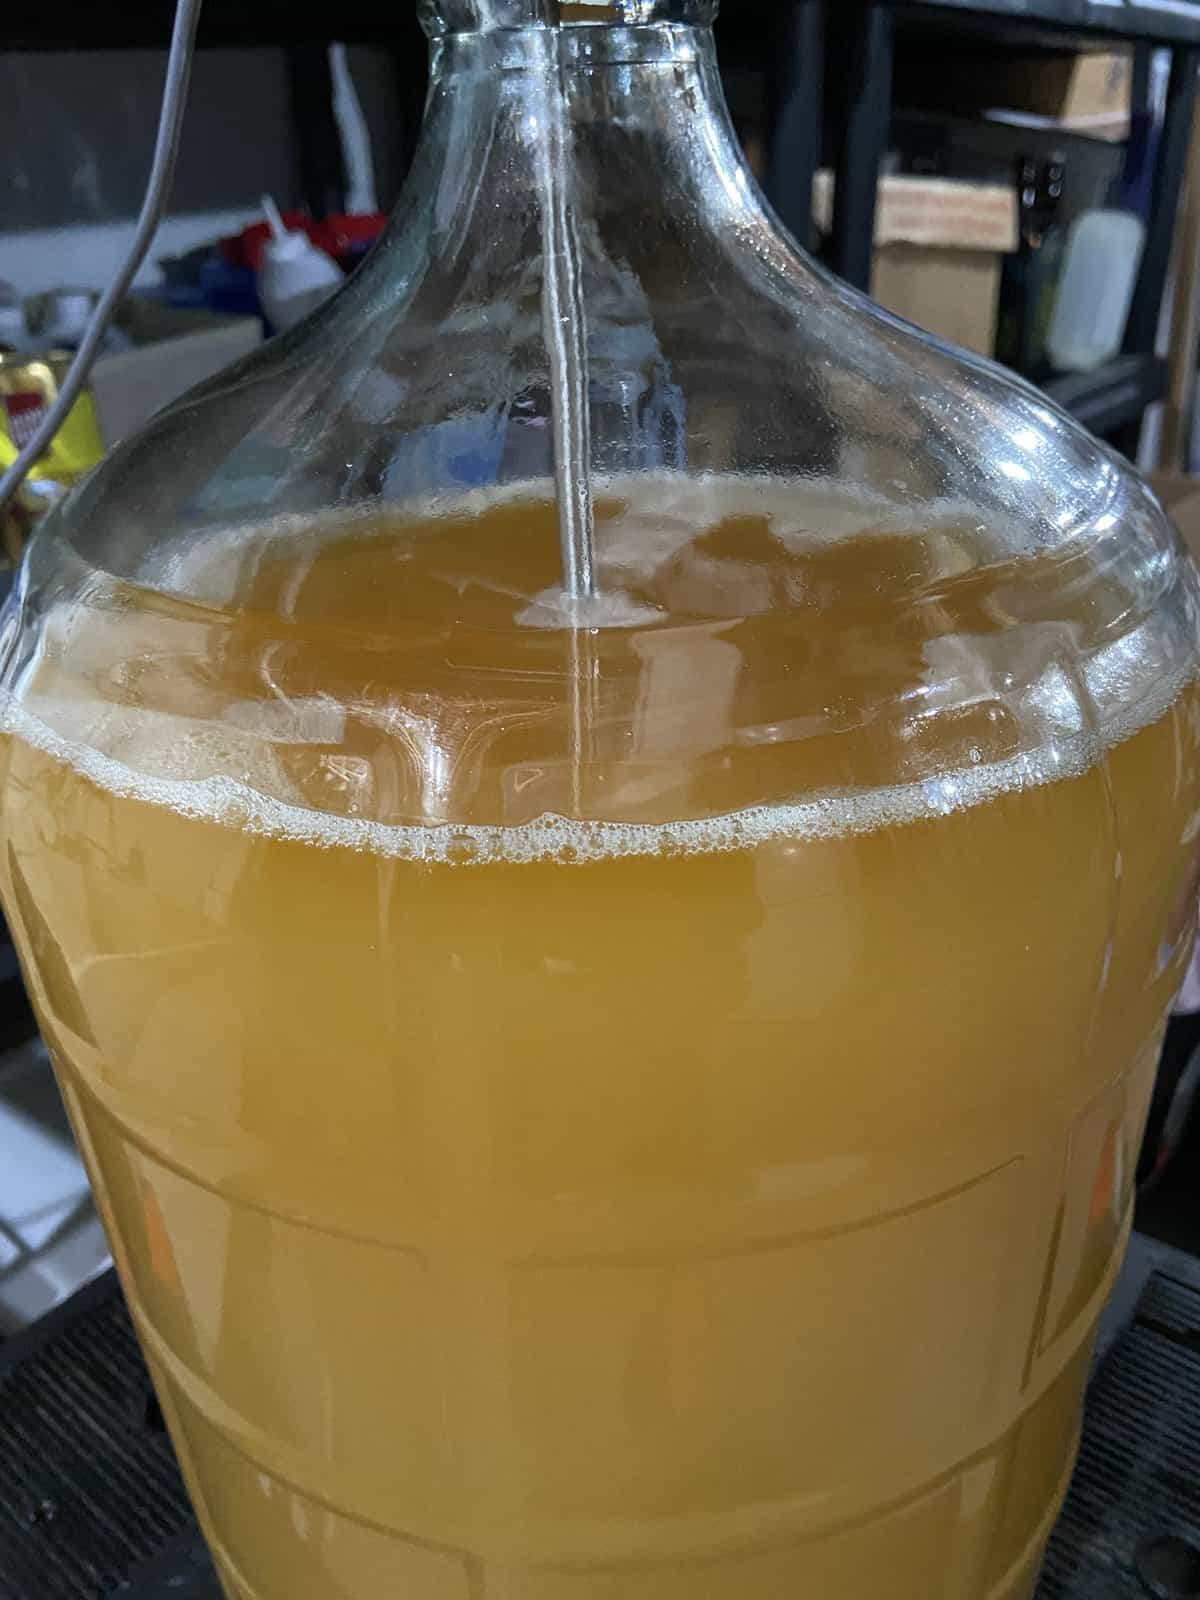
Okay, this is how it’s ending for the night. I usually just use a large blow off just because I’ve had issues in the past. I doubt I’ll have them today, but why not. So there’s just a sanitizer in there, a big tube in there, and everything sanitized.
We’ll let it sit for 24 hours because I’ll need to put it in my thermowell and dual stopper so that I can put my heater on because we’re definitely going to be needing it this time of year. So that’s how it looks. That’s where we sit at our volume, so not too bad, maybe a hash low in the end. Temperature wise it’s right where it needs to be for fermentation. Everything’s looking good already so here we go!
This is about 13 hours later, so things are moving along. Here we are at about 27 hours and everything is looking really good. It’s pretty cold outside here but still, temps look good in there and I’m not putting it on the heater yet. Everything’s moving real nicely. I’m real happy with it so far.
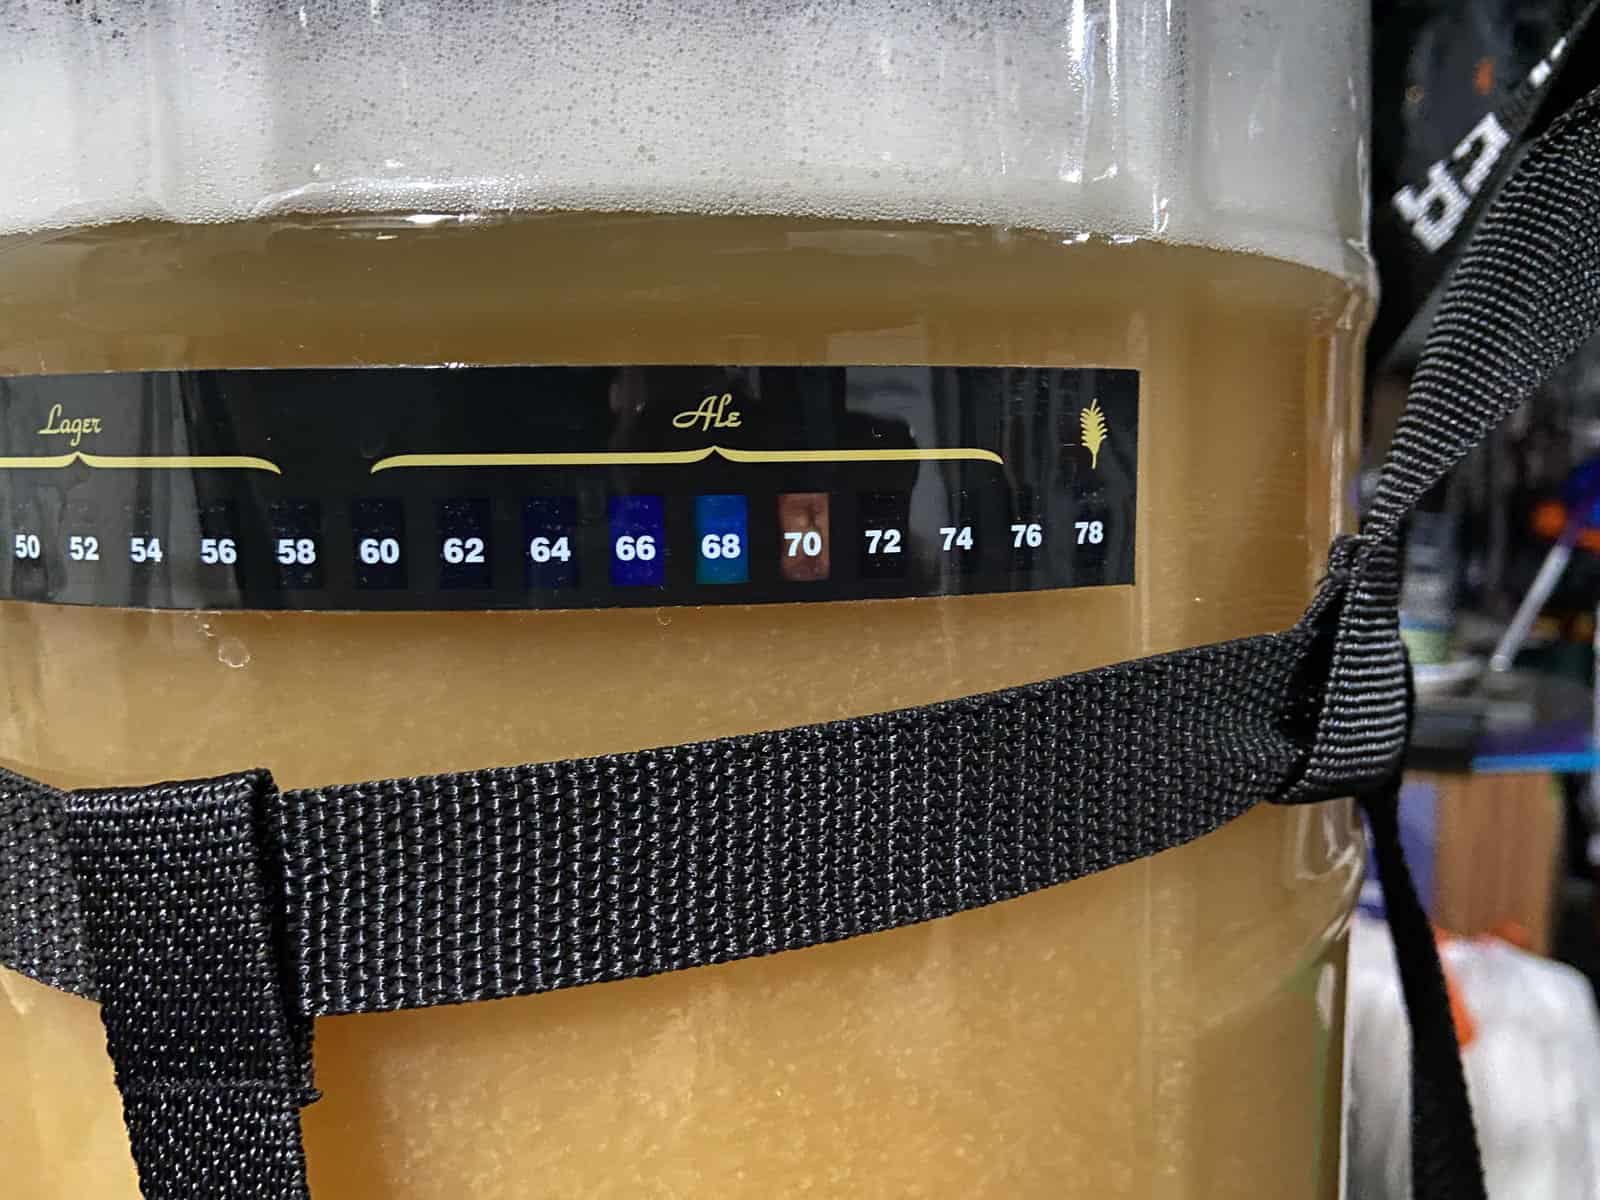
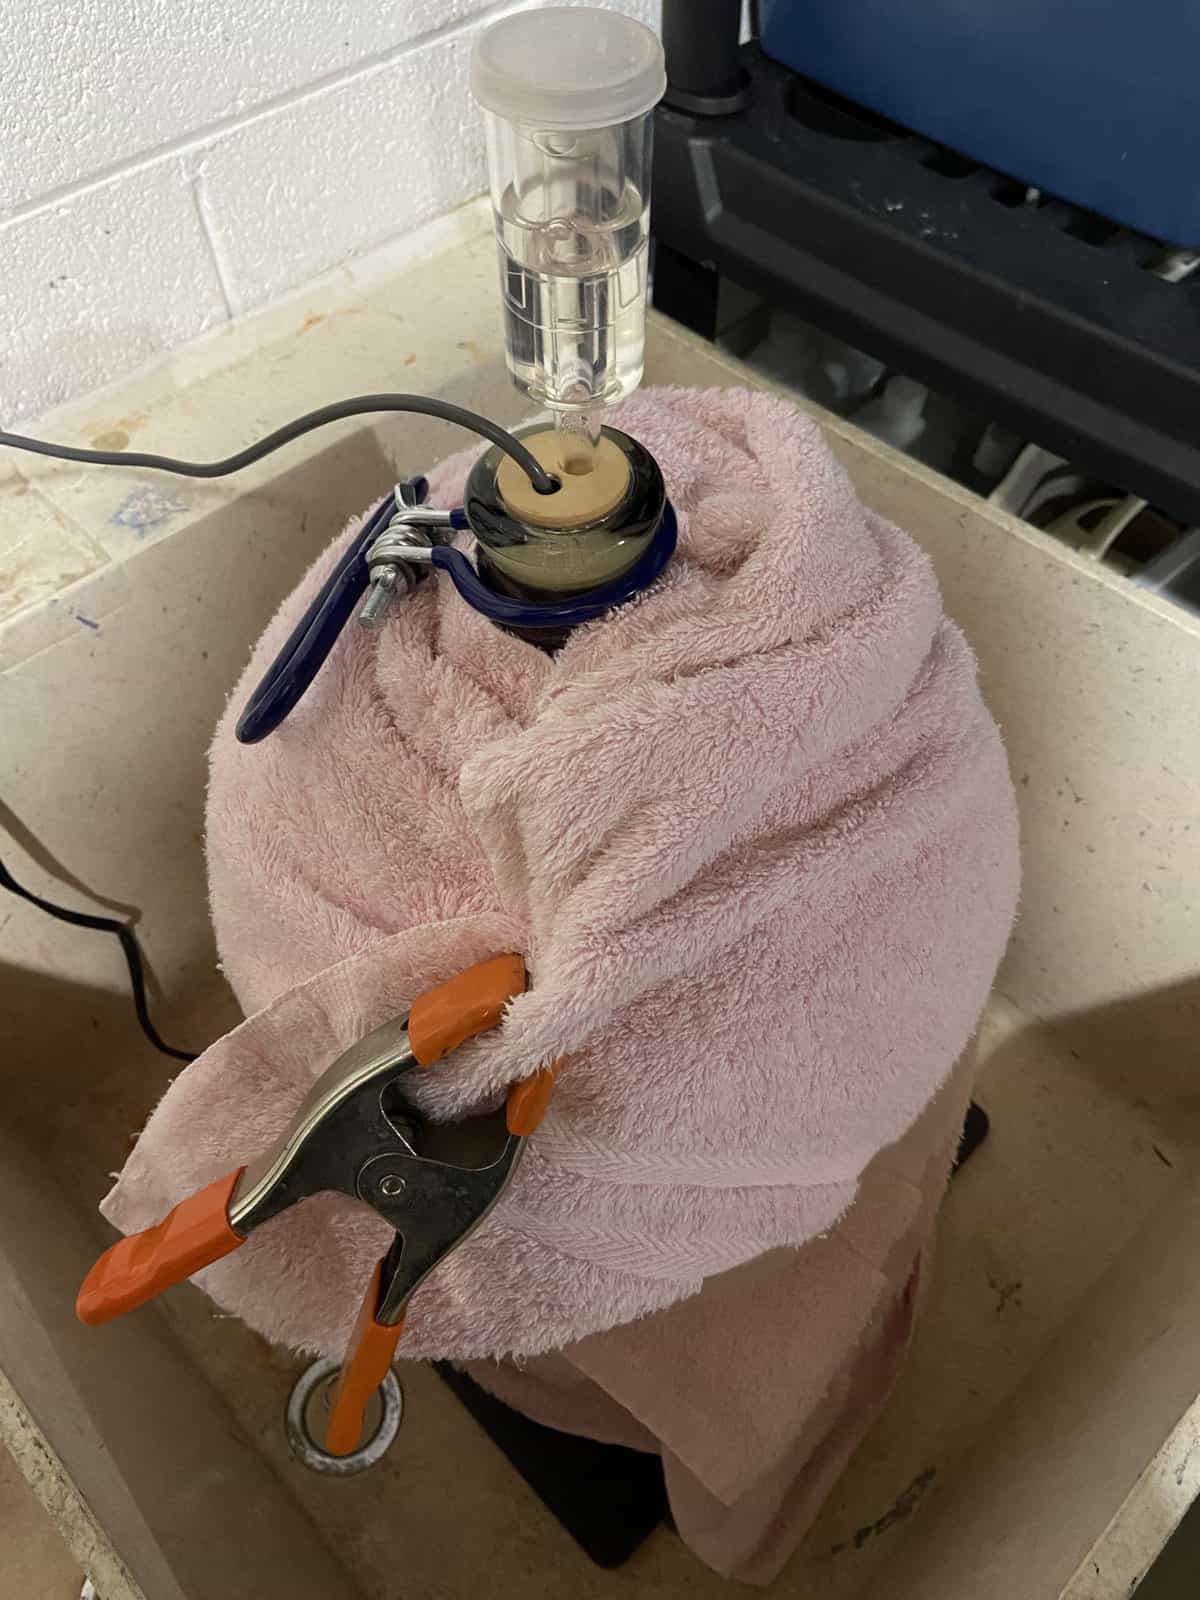
So we’re at about 36 hours later. It’s gonna be warming up around here. It was at about 28° last night and it’s supposed to be around 40° today, so things are starting to rise here but I covered this guy up with a towel, blanket, and sleeping bag. It’s pushing it. It’s supposed to be no higher than 72° so that’s about where it’s at and maybe a touch over. Everything is doing well, not sure if it’s too warm or what so what I think I’m going to do is maybe just use the sleeping bag, I’m not sure but I’m going to pull something off here just to make sure it doesn’t get too warm.
Fermentation Temperature Control
Okay we’re getting ready to put the thermowell in here. I’ve sanitized that already and I’m sanitizing everything around here. I’ve got sanitizer in my airlock and I’ve already sanitized all this but not taking any chances with it.
The only downside to this is I have to pop this up to get this probe inside cause it won’t go down.
That’s our set point, one degree differential, and I want it to heat so right now we’re seeing our temperatures actually pretty warm in there at 73°,so it’s a little warm.
So the way that it works is that it’s plugged into here, the controller (I have a video on how I made this: Fermentation Temperature Control ) and it goes to this Copper Tun heating element and again that thermowell goes all the way down the side the stopper and what we’ll do is we’ll just put a towel on it to cover it and from protect it from light and also to just kind of keep it insulated.
Now it’s starting to warm up here. When we brewed it was 26 or 28° outside and it’s going to start to hit the mid 40s around here so things are changing. I may not even need the heater or at all at least not currently during fermentation so it’ll be ready to go.
Deciding How Much Mango & Habanero to Use
So after doing a lot of research on what I was going to use for the mango and even the habanero. Really the habanero I was going to use fresh but I guess from a replication standpoint it’d be easier to have something that I can measure off.
The Amoretti Craft Puree products seemed to be the best out there. Certainly wasn’t that inexpensive either but if you bought with some coupons and got some free shipping it wasn’t too bad and you can use this for multiple things. This can get put directly into a glass of beer and drink it. You can use it for anything really. So I ended up getting each one. They’ve got their own directions and they said to follow them pretty carefully as to how much to use. One to three fluid ounces per gallon is what they’re suggesting, somewhere in that area.
In the original version of this beer there really wasn’t a lot of mango flavor in it but it had a lot of heat. When the beer warmed-up you got a little bit more of the mango out of it, but it wasn’t as sweet as I probably would have wanted it to be I guess for something like this time of year. So I’m going to make it a little bit sweeter. I’m hoping to maybe pull back the heat just a little bit, not a lot but a bit, so I decided to go for it with both of these so I got the Habanero and the Craft Puree Mango.
I could not get Bell’s Oberon – it’s not in season around here so I’m just going to use a pretty agnostic type of beer. I’m just going to use a real plain light ale and just use that to get an idea maybe how much I should be mixing. So I’m trying to figure out the scaling and kind of rough this out to see what I come up with.
This is going to be somewhat rough but I took a one can of beer, poured half of it into this measuring cup. Since basically one pump of the purees are about 8 ml each, then half of a pump is obviously 4 ml. Since I’m using half of my can of beer (6 oz) because that’s for a 12 oz measurement, I’m going to be using instead of 8 ml for a full can I’m using 4 ml and instead of 4 ml for a half strength I’m going to use 2 ml. That ends up being roughly about a half of a teaspoon which is about 2 1/2 ml. So I’m going to do my best to measure off that.
Definitely got a mango smell and a fair amount of heat right there. So after a few different tries and actually using a different beer because the other one just tasted terrible I’ve decided to go to half the recommended or the midway point of the mango and on the low side of the habanero. If I go with the halfway point on the habanero it’s about the way it was over at Bell’s Eccentric Cafe – I’d say theirs was about that hot. This still has plenty of heat. I think the mango right in here has kind of a funny taste and I don’t know if I love the way it smells. My wife seemed to think it was fine but I think half will be fine and I think if it’s sitting in the keg it’s going to probably meld in there a little bit better anyways. So that’s what the plan is going to be so I’m going to figure that out.
Okay so in the end we’re going to end up with 10 fluid ounces of the mango going into five gallons and we’re going to do 5 fluid ounces of the habanero going in.
Rack to the Secondary & Add the Mango & Habanero
So it’s been about 12 days, I should have done this within about five to seven probably but we’re going to go ahead and add our mango and our habanero. So I’m going to go ahead and put it into a secondary partially because it’s in a 6 gallon carboy now and the other is a 5 gallon and it’s going to sit for a while probably before I have time again. I was really behind this time as well so I think it’ll be safer just to move it. So that’s what the plan is now. I’ve got everything pretty much sanitized; I’m just about done with that and we’re going to get the transfer going. I’m going to grab a sample here real quick.
Okay, the little sample we pulled tasted pretty good. Our target was 1.012 and we came in at 1.016. Obviously things are going to change when we add our puree which is what we’re going to do now.
So based on my little test last night we’re going to do 10 ml of the mango puree and 5 ml of the habanero. I think that’ll give us the kind of a profile we want. The original was probably more like equal I would say, definitely had more heat to it. We’re going to get this put in there and let it sit. Everything’s been sanitized a thousand times. I think we have to mix it a little bit.
So here we are about 11 hours later and activity is picking back up….
Transferring to the Keg
It’s been 16 days since we transferred to the secondary and added the mango and habanero purees and this needs to be moved off to the keg which is all sanitized and ready and we’re going to cold crash it and then carbonate it and get ready to go for Christmas time. Let’s get our gravity reading. I can smell the mango – wow and the habanero.
If you’ve seen my videos in the past, I put these little door stoppers there to kind of tilt the carboy back a little bit so it’s easier to draw everything out.
We’re all transferred. It looks pretty good. We got just under 5 gallons. We’re going to clear the headspace. After about 24 hours – we force carbonated.
Tasting & Final Thoughts
So how did we do on the beer? I think it came out real good, color is good, it tastes great and is very popular. I think it had a little bit more heat than I expected. It just hits you in the back of the throat though it’s not like your mouth’s hot it’s in the back of throat and you can feel it going down. It’s actually pretty nice on a cold day.
I did some experimenting adding a little bit more mango and different things just to try to see if I can calm it down a bit and really the best thing I could find was just hitting the keg with a little bit more of the mango puree just to kind of tone it down a little. It didn’t do a whole lot to it but a bit of sweetness to it but everyone was happy. I mean we’re way under 3 gallons left and it’s just the beginning of January now so it’s been taking me time to actually make this video but we’ve been going through pretty quick.
The final ABV was 5.8 right where it needed to be, that’s exactly what it was supposed to be. Our target gravity on the brew was 1.016 and we were at 1.014, so that’s pretty good. Overall, I think it was a good beer. I think I would probably…I don’t know what I would do but maybe hit it with a little bit more sweetness up front and maybe a little less heat or just a little less heat. The sweetness wasn’t bad.
Adding it to the keg after, it tasted good. When I first was trying it by the glass when I was testing (the ratios), the mango really wasn’t doing it for me but after it fermented a bit it did make a difference.
We did actually see a bump up an ABV, I did a test on that (pulled a sample) before I added the purees to it. We were at 5.51% (1.016 gravity) so it did make a bit of a difference after it fermented a bit. Adding it directly to the keg was fine. We did some tests where we added it right to the glass and it wasn’t bad. Actually, that’s when it really calmed it down but you’re using quite a bit of the puree, and that stuff is pretty expensive, so I didn’t think that was the best way to use it. So that’s why I doused the keg with a little bit more. I did about six and a half ounces more mango to about 3.4 gallons at the time and it’s good; I’m not messing with it anymore. I’m happy with it and so far everyone who’s tried it has been happy with it as well. So we’ll give this one another try I think and see if I can dial the flavors in a bit but overall I think it was a winner and I’m excited cheers