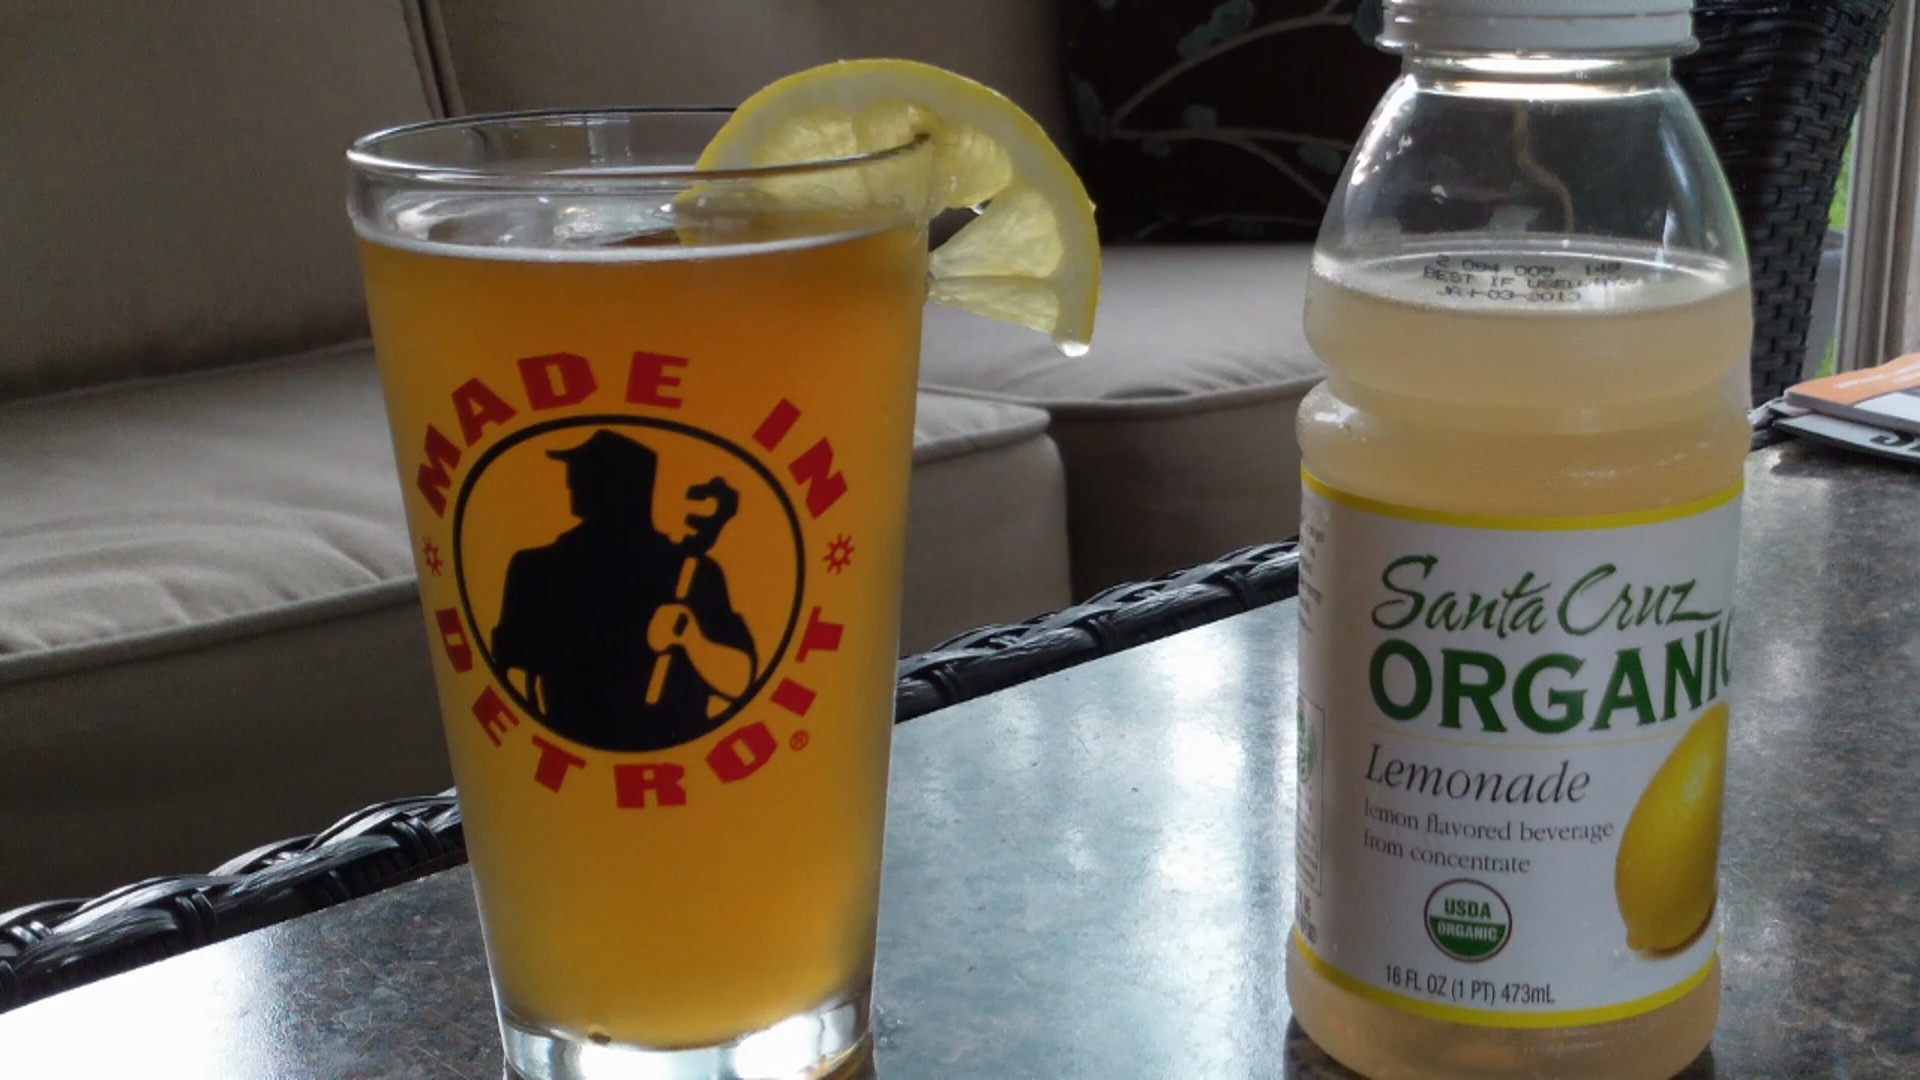
This is a brew-in-a-bag session of a south German style of wheat beer called Hefeweizen. This is the largest grain bill I’ve done to date weighing-in at 17.5 lbs. This is a great summer wheat beer that can easily be turned into a summer shandy with some lemonade or just a lemon wedge, if you prefer.
I go though the basic process of brewing this beer with the Brew-in-a-Bag method. Watch me at each step, including preparation, brewing, fermentation, racking to a keg, and tasting.
With this brew I also use my newly installed sight glass and heat shield. I also test out the Brewer’s Friend iPhone app and discuss some pros and cons of it.
Approximate times in the video are noted for reference.
Video Summary
Setting: Michigan
Beer: Hefeweizen
First day I’ll be using my newly installed and calibrated sight glass and heat shield.
Recipe
Fermentables
10.5 lb White Wheat
5.5 lb German Pilsner Malt
1 lb Carapils (Briess)
0.5 lb German – Munich Malt
17.5 lb Total Grain Bill
Hops
Amt Variety Time
1 oz Hallertau 60 min
1 oz Hallertau 20 min
Yeast
White Labs Hefeweizen Ale (WL300)
Preparation
Step 1: Prepare a yeast starter
Step 2: Begin filling the kettle with the strike water
Step 3: Measure the kettle volume with the new sight glass you just installed (or hopefully installed). No more hose clamps for me!
Brew
1:18 I’ve hit the strike temperature, now comes the difficult part of putting in the bag, clipping it down, and hoping all the grains fit (leaving extra room for head space). I end with 17.5lbs and then bring my temperature back up to 152 degrees.
I will be using a new brewing application for my iPhone from Brewer’s Friend. There is a free version that, while contains many of the same features of the full version, is limited to two recipes, two brews, and sync to the website is not available. As of this brew session, the paid version is $8.99 and includes a beer recipe calculator, brew session tracker, and brew log, as well as is sync capable with the Brewer’s Friend cloud solution. So far it’s very cool, and I really like that is has all the brew timers ready and set up.
3:00 With everything inside my pot (11 gallon kettle), I’m at about 10 1/4 gallons of water and at the maximum amount my pot will take, but so far everything is okay. I had to use my winter coat technique to keep the temperature constant. I also stir periodically throughout the brew session.
3:40 My 90 minute mash is completed and now I will get ready for the mash-out by bringing the kettle up to 170 degrees. Then I will pull the bag, squeezing as I go, be careful it’s heavy!
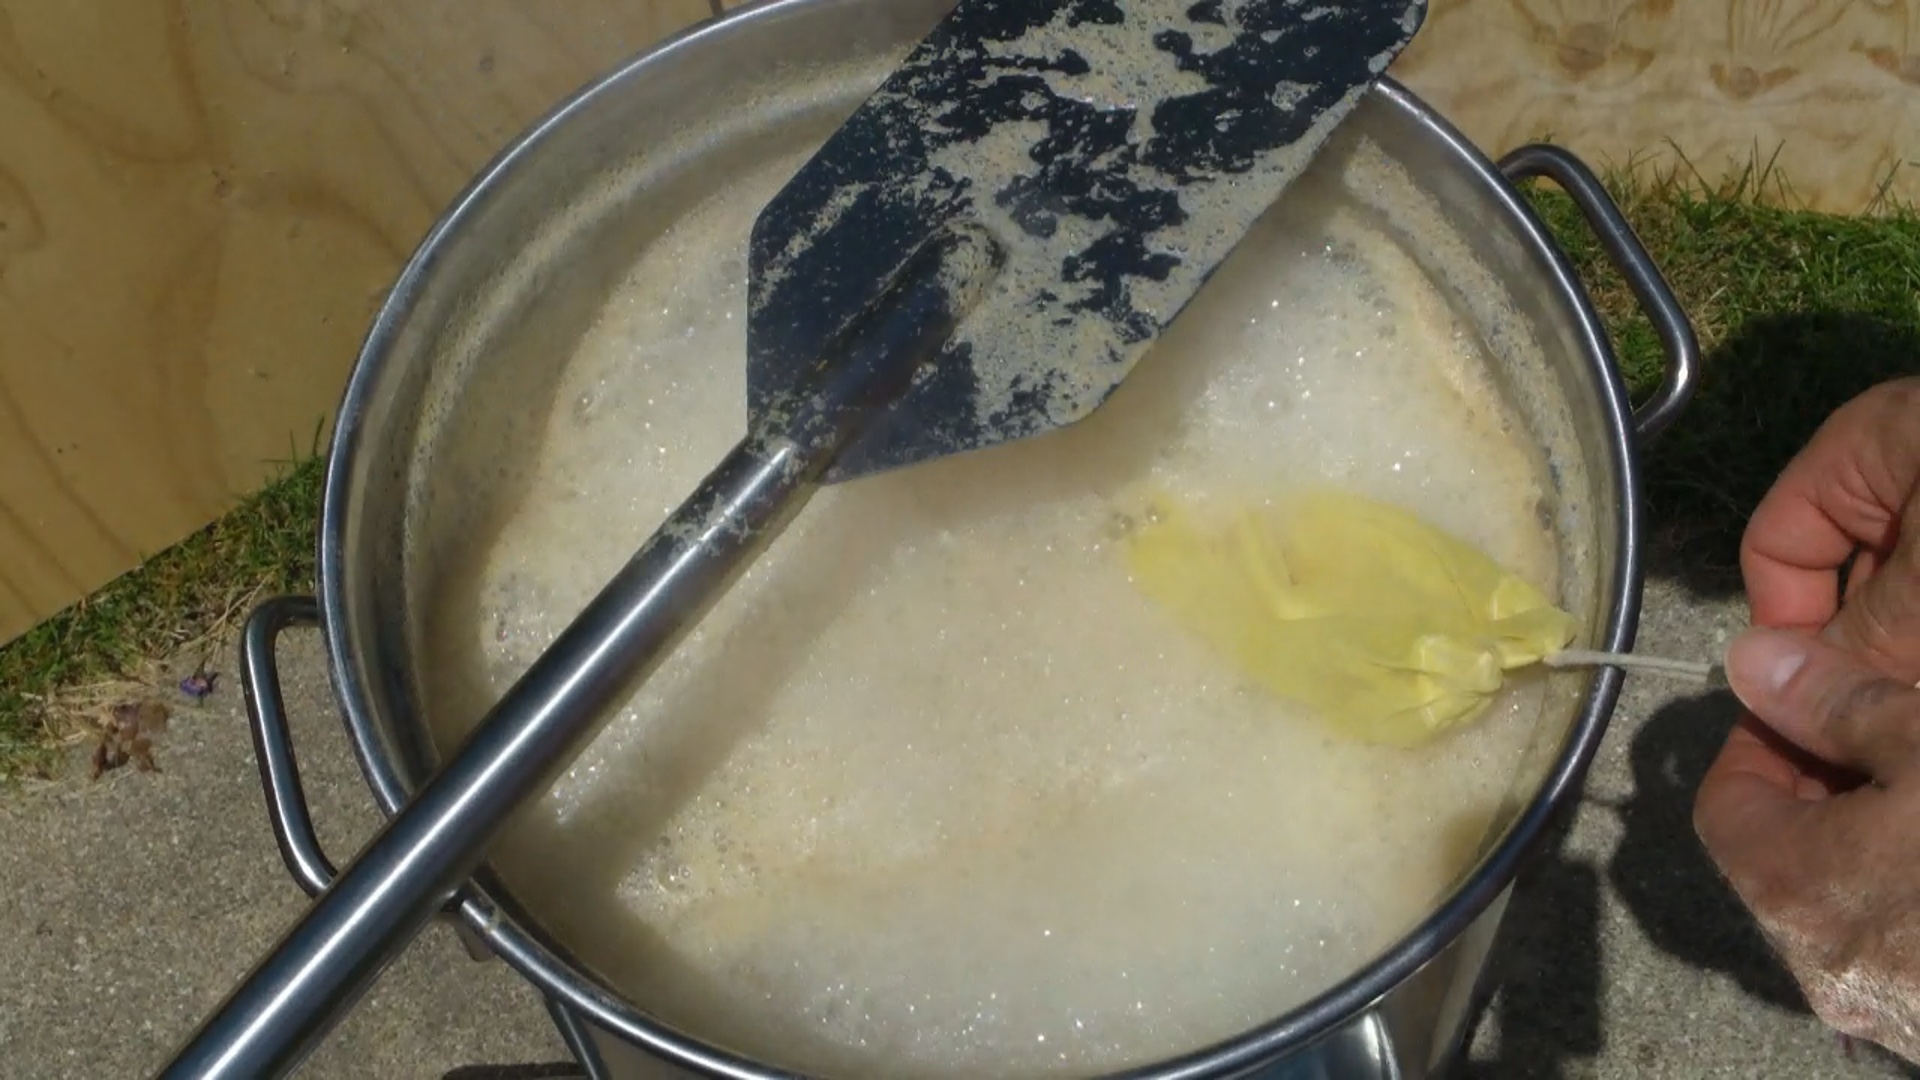
6:12 I now will write down my volume level and grab my pre-boil gravity reading and sample temperature. It only takes about 15 minutes to bring to a boil because of the hot temperature outside, and now I add my first hop addition. I have to watch the temperature because it wants to boil over. Then I add my second and last hop additions.
Update: The instillation of the sight glass also helps hold my hop bag. I also really like the timer on the Brewer’s Friend application. It runs all the timers for all the additions at the same time; it’s worth the money.
8:28 Next I add my Whirlfloc tablet. Then it is time to put the immersion chiller in to sanitize it. After flame-out, I’ll now start the cool down.
9:21 I’m at about 75 degrees now and it’s time to remove the chiller and prepare to transfer to my carboy. After cool-down and the hop bags and chiller have been removed, I’m at about 5.5 gallons. After everything has been sanitized I being to transfer the wort; making sure to splash the beer around as I go. Then I take a gravity reading.
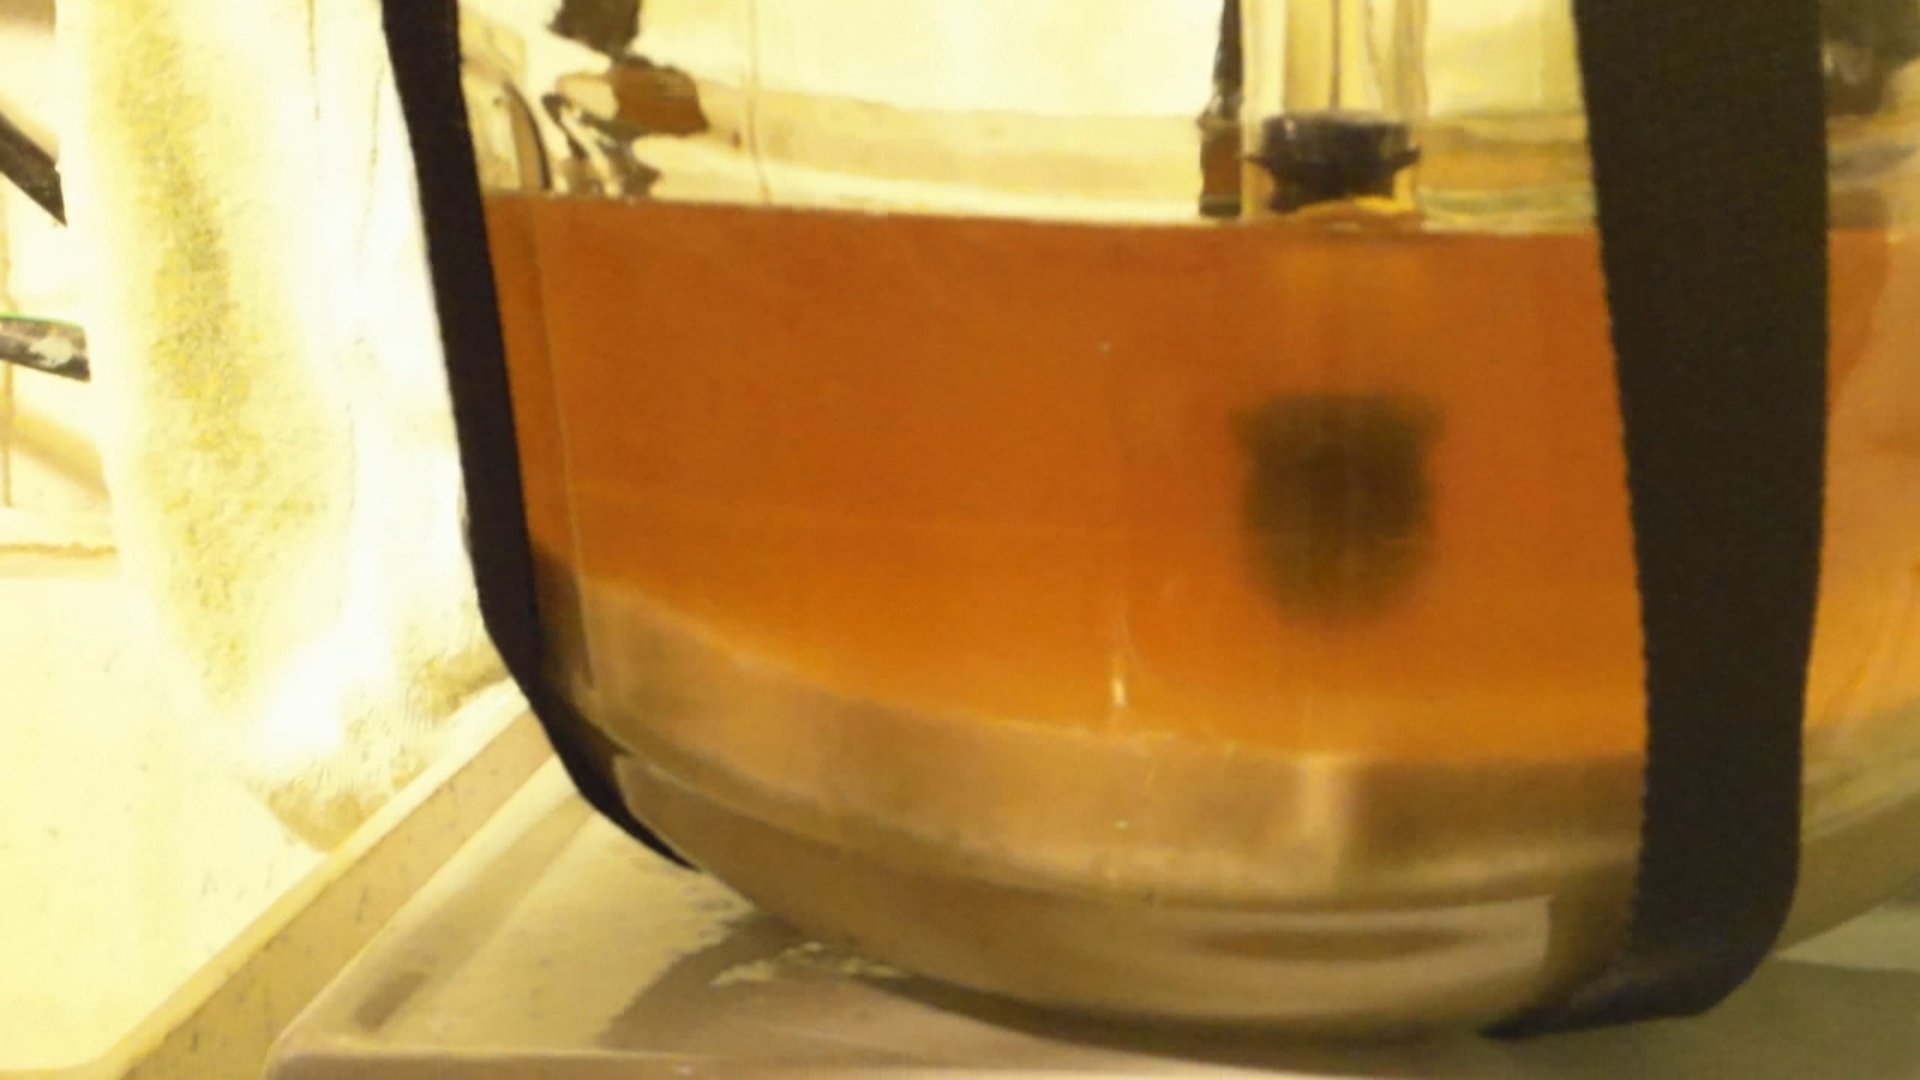
11:16 I let the beer sit for a while and I can see a lot of sediment at the bottom. I plan to add the whole liter of yeast starter, then aerate it and add a blow off tube.
Fermentation

13:33 At 5 hours after I pitched the yeast I can already see good active fermentation. The starter worked out really well. The blow off tube was also a good idea.
48 hours later and I will remove the blow off tube and add the fermentation lock. Then three weeks after that I’m going to take my final gravity reading and rack to the keg.
My final reading came in at 1.012 at 72.7 degrees. I could have put this directly into my Brewer’s Friend app, but then I realized it does not do temperature compensation automatically (bummer). The original gravity reading was supposed to be 1.023 but my original gravity was lower as well.
Racking to The Keg
15:44 Using the auto siphon I’m going to rack to the keg.
Tip: If during racking, the beer is not flowing properly at the top of the auto siphon, bend it up (the hose) until the beer is filled completely up there, and you’ll get a nice clean siphon.
17:06 As I approach the bottom of the carboy there is a lot of sediment. I have to be careful not to suck any up into my keg. At the end I estimate that I have almost a gallon’s worth of trub, compared to a half gallon that I accounted for.
18:25 To clear the head space, in my kegerator, I turn off the gas to both kegs so it does not over carbonate and I also increased my CO2 to about 30lbs. I purge the keg about 5 times to clear the head space. Then stick it in the kegerator, cold crash it, and do a force carbonation and let it sit.
Tasting
19:19 I’m happy with how this Hefeweizen came out. It’s got good color and flavor, and after a recent party there is only a little left. It came in at 7.61%. It’s good with a little lemon or mixed with lemonade for a shandy. Perfect for summer.