
This was my first time brewing Northern Brewer’s Smashing Pumpkin Ale using brew-in-a-bag. This is a great fall beer where either real or canned pumpkin can be also used, and this greatly adds to the awesome aroma of this brew.
I go though the basic process of brewing this beer with the Brew-in-a-Bag method. Watch me at each step, including preparation, brewing, fermentation, racking to a secondary, racking to a keg, and tasting. With this brew I also use my new Bayou Classic Banjo Cooker for the first time.
Approximate times in the video are noted for reference.
Video Summary
Setting: Michigan, Mid August
Beer: Northern Brewer Smashing Pumpkin Ale
Option: Use real or 100% pure canned pumpkin. I will be using canned because pumpkins are not in season yet. I will be using two-13oz cans. This recipe calls for 8-10lbs of pumpkin (optional), but after doing some research I’m just going to stick with two cans, which is about 4lbs.
Along with the spice pack from Northern Brewer, we added:
Cinnamon (1/2 tsp + another 1/8 tsp)
Ginger (1/8 tsp)
Nutmeg (1/8 tsp + half of another 1/8 tsp)
Ground Clove (half of an 1/8 tsp).
I will be trying out my new Banjo Cooker with this brew session.
Preparation
1: 29
Step 1: Spread pumpkin out in pan and cook in oven at 350 for about an hour so it has a dark caramelized color. It can either be put right in the mash or in the boil, but there may be clarification issues(if put in the boil) and it will require multiple rackings. So since it’s my first time doing this I will be putting it right in the mash. After cooking take it out and let it cool down to about 152 degrees (your mash temp).
Step 2: Set water level marks to measure how much water is in the kettle. There are many places to calculate this online. I’m using stainless steel hose claps measured to the top. My three clamps represent the mash level, pre-boil, and post boil.
Step 3: Begin filling pot up with water.
Brew
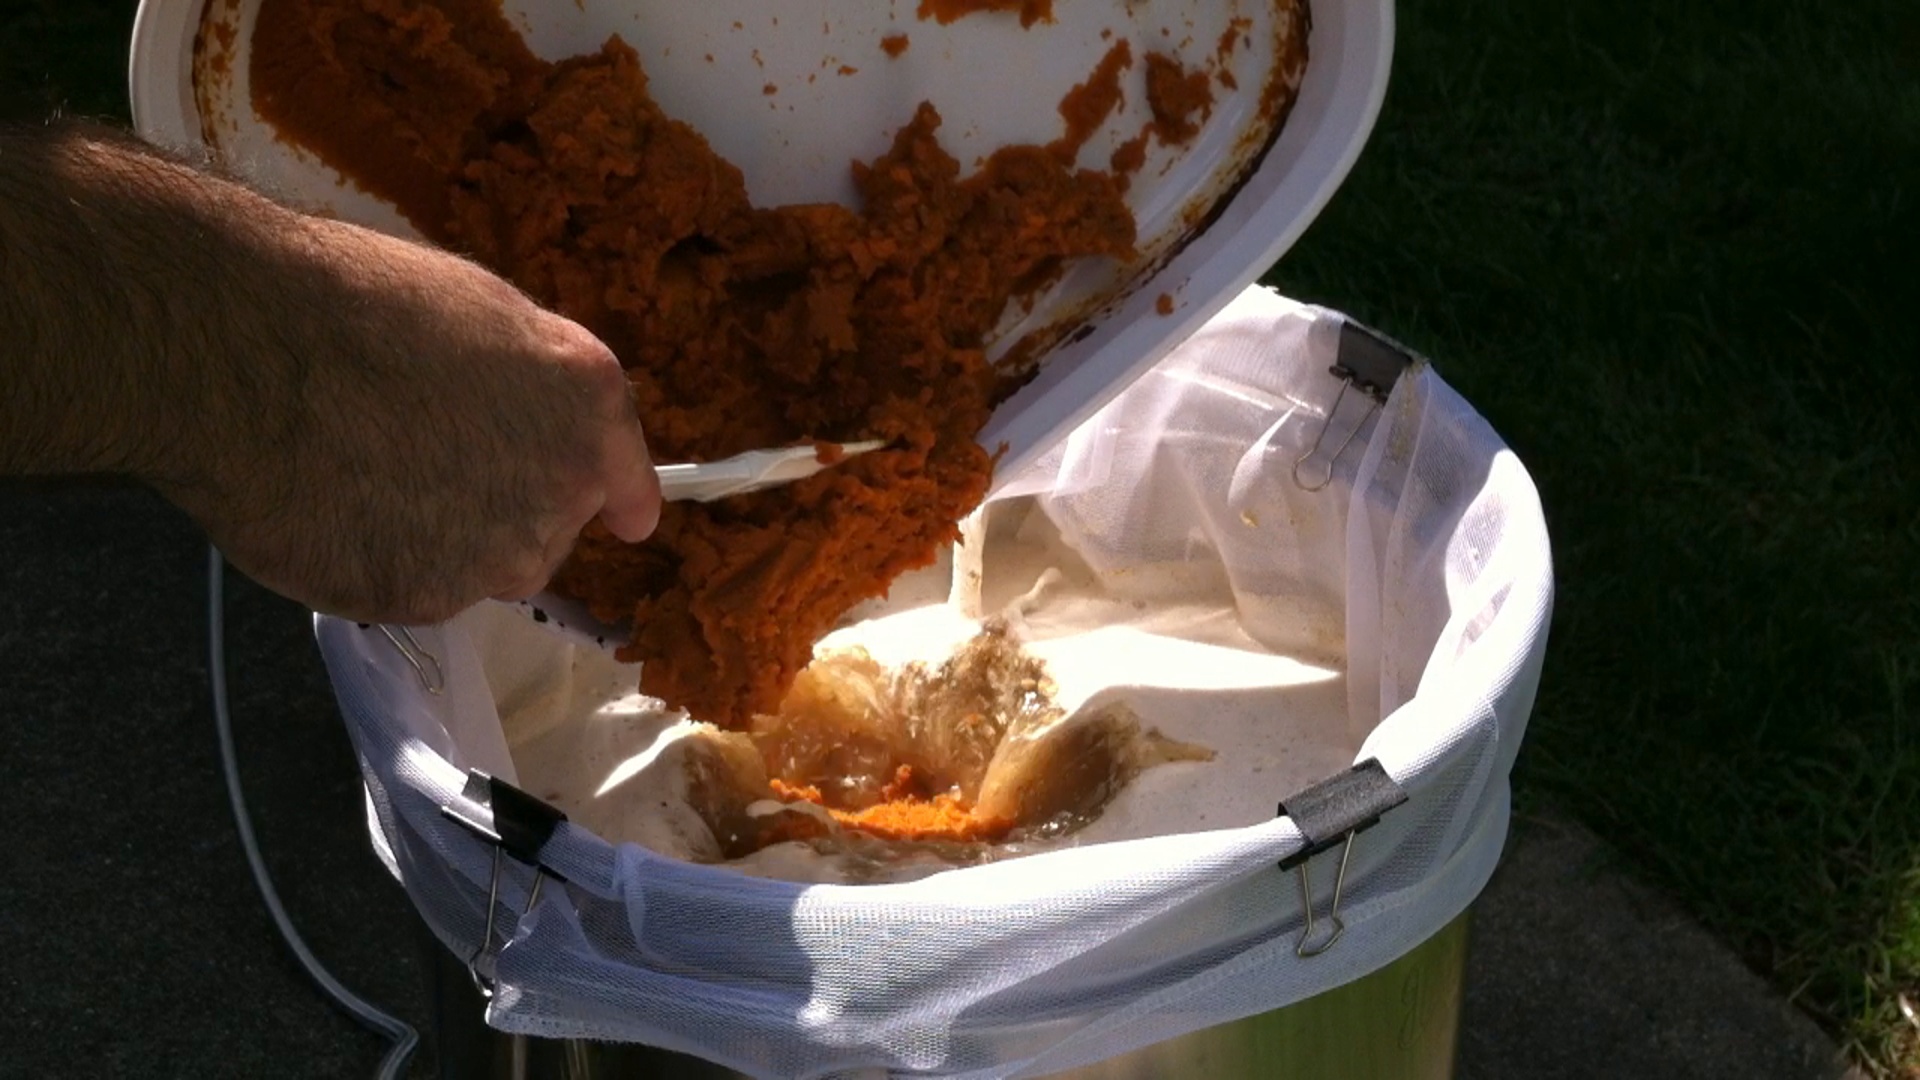
4:08 I begin by placing the bag in the pot and clamping it down. Then it is time to add the grains. It is easier to have a partner for this part, but with this brew session I am solo. The pumpkin looks and smells great. I’m going to scrape up what I can and add it to the mash. Our mash temperature ended up at 150 degrees, because of the extra time with the pumpkin, I’m going to need to fire it back up. Once the 90 minute mash is complete, I need to raise temperature to 170 degrees, after a quick stir, for the mash-out for 10 minutes.
5:50 The mash-out is complete. I am going to stir then pull out the bag, squeezing as I go. Be careful, the bag is heavy. When checking the water level I realize I squeezed out more than I accounted for. Next I take my pre-boil gravity reading.
7:05 I add my first and only hop addition of Cluster 1oz. Then add the Whirlfloc tablet.
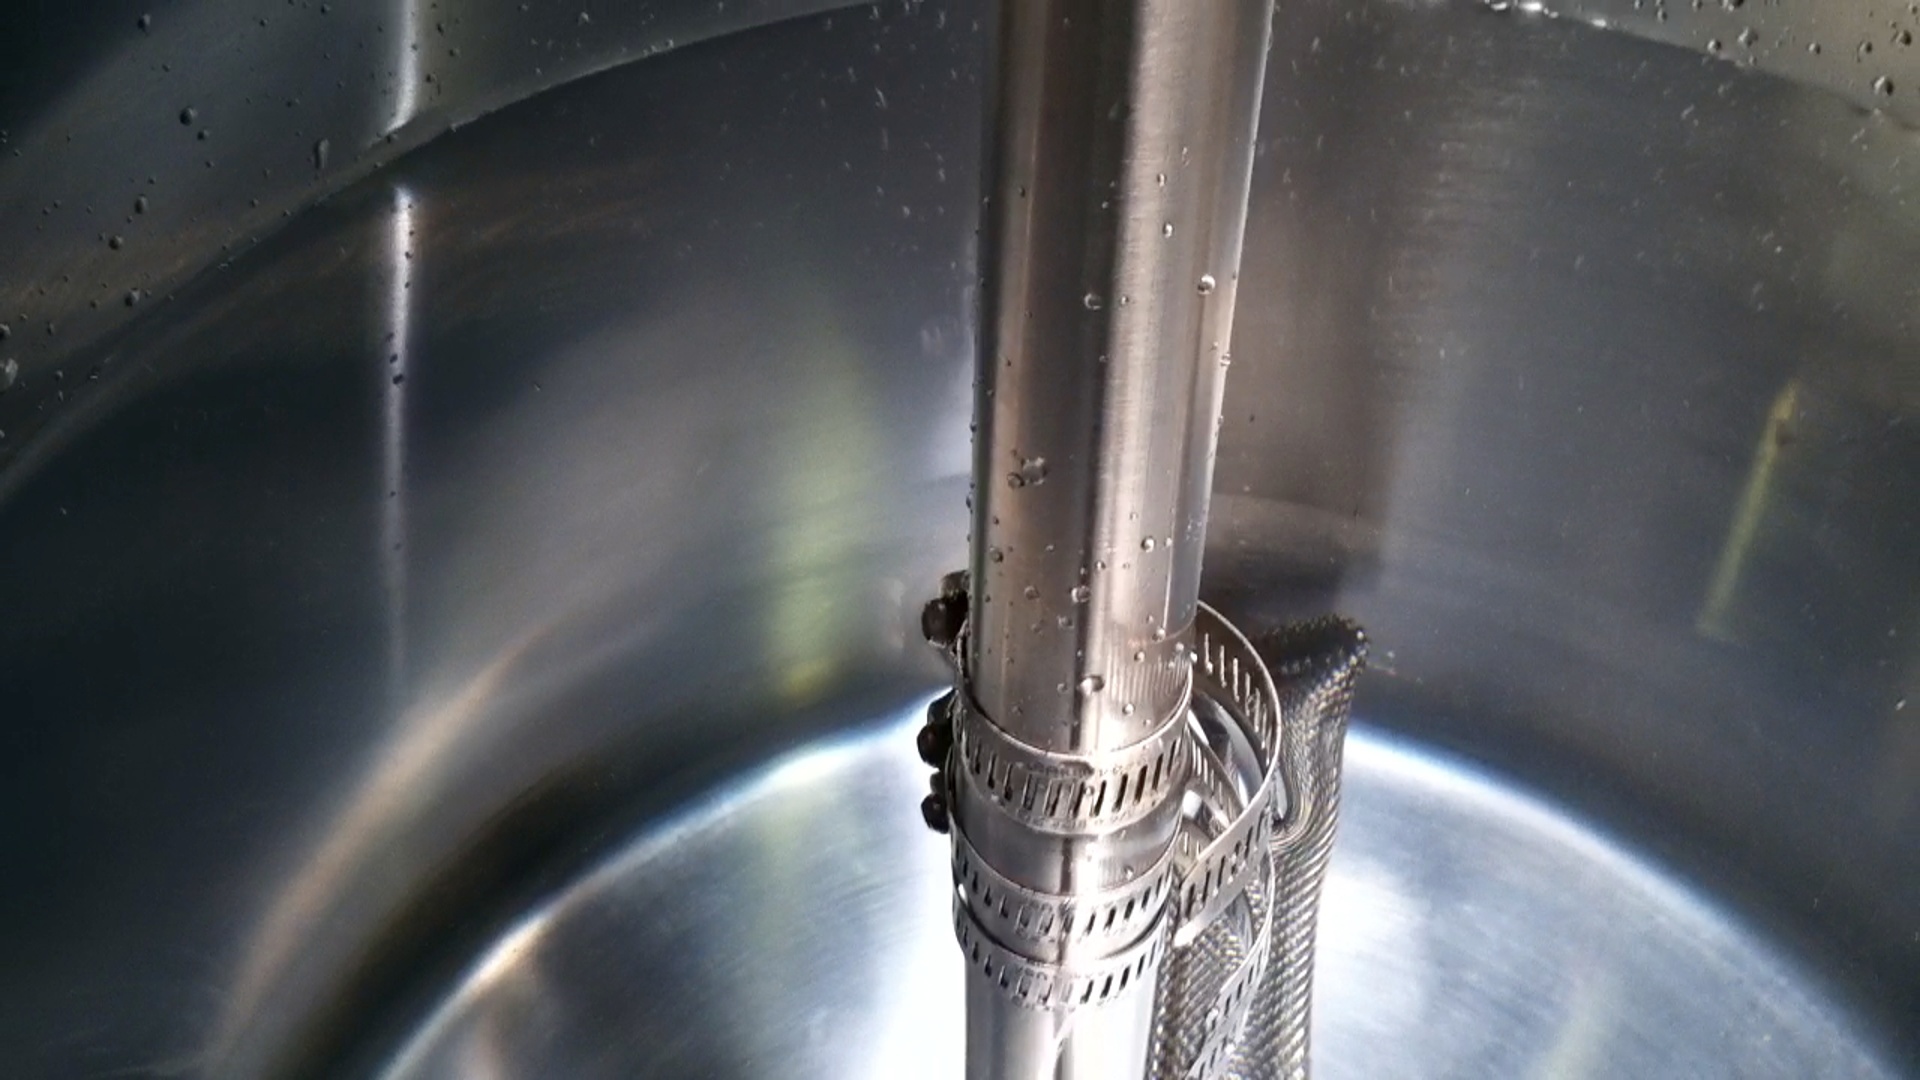
7:37 It’s now time to sanitize the immersion chiller and add it to the pot. After, I add the smashing pumpkin spice pack mixed with my own version to the pot. I then check my water level again, and it’s a little high due to the immersion chiller and hop bag still being in the pot.
8:55 I’m getting ready to rehydrate my yeast. I first boiled 100mL of water then cooled it down to about 67.3 degrees, which is within the correct range (59-71.6 degrees). Sanitize the spoon, sprinkle the yeast in and start stiring.
10:08 Now that it’s cooled down enough I’m going to transfer it to the primary. I ended at about 5 3/4 gallons, I’m going to aerate and then take my final gravity reading. The temperature ends at about 75.3 degrees, it’s in range but not ideal, but I’m going to pitch anyway.
Fermentation
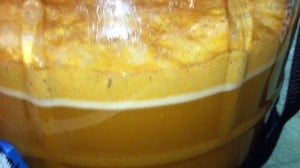
11:30 About 24 hours later I have good active fermentation. I’ll now just let it sit. It has now been in the primary for two weeks. There is a lot of trub and pumpkin sediment at the bottom. I recently got two rubber door stoppers from the hardware store; they work great for tipping the carboy forward when using the auto-siphon. After sanitizing, I will rack to the secondary.
Racking to Secondary
13:30 After racking to the secondary, the fermentation lock is on top and it will stay here for a while as it sits through the conditioning process. After about four weeks I will take my final gravity reading then be ready to rack to the keg.
Racking to the Keg
14:37 Everything has been sanitized and I’m ready to rack. Once completed, I seal the keg and will purge the head space with CO2, then let it sit for bit while I cold crash it in the keg.
Tasting
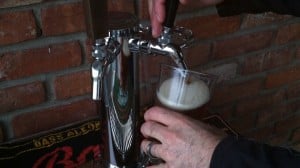
15:45 This beer came in at 5.64% ABV. It’s got awesome aroma, good color, came out nice and clear. I will definitely do this one again – everyone who’s tried it loves it.