
Here’s how I clean my three piece ball valve on my brew kettle. After each brew session I do a light cleaning, however every couple of brew sessions I like to take it apart and do a thorough cleaning of the valve, thermometer thermowell, and surrounding areas.
I’m always careful not to affect the Teflon tape and thermal paste used in my thermowell. I use OxiClean to clean not only my valve, but my kettle and kegs; however you can use whatever cleaner you choose. When I reassemble, I ensure the valve is pointing the correct way, and always check for leaks before I start to brew.
Approximate times in the video are noted for reference.
Video Summary
I will be brewing today, and I like to have my ball valve thoroughly cleaned every couple brew sessions, at least. I always clean it out with a wire brush, however every few sessions I give it a more thorough cleaning by taking all the pieces apart. For this particular one I need two, 13mm wrenches. You definitely want to make sure everything is kept in order. You could take a picture of everything before hand, or as you go, to make sure you reassemble correctly.
After disassembly, I end up with four bolts, four washers, and four nuts. Then I have to take apart the ball itself. If you push on one side it just pops out. Looking at mine to determine how dirty it is, I notice the white plastic bushing is a bit stained but overall, it is all pretty clean (that is thanks to my cleaning after every brew session). Everything will get scrubbed down, including the inside of the actual connector on the kettle. I don’t take mine all apart because I don’t want to worry about resealing it back up with Teflon tape; however you could if you wanted to. Also make sure to clean the piece inside of the kettle.
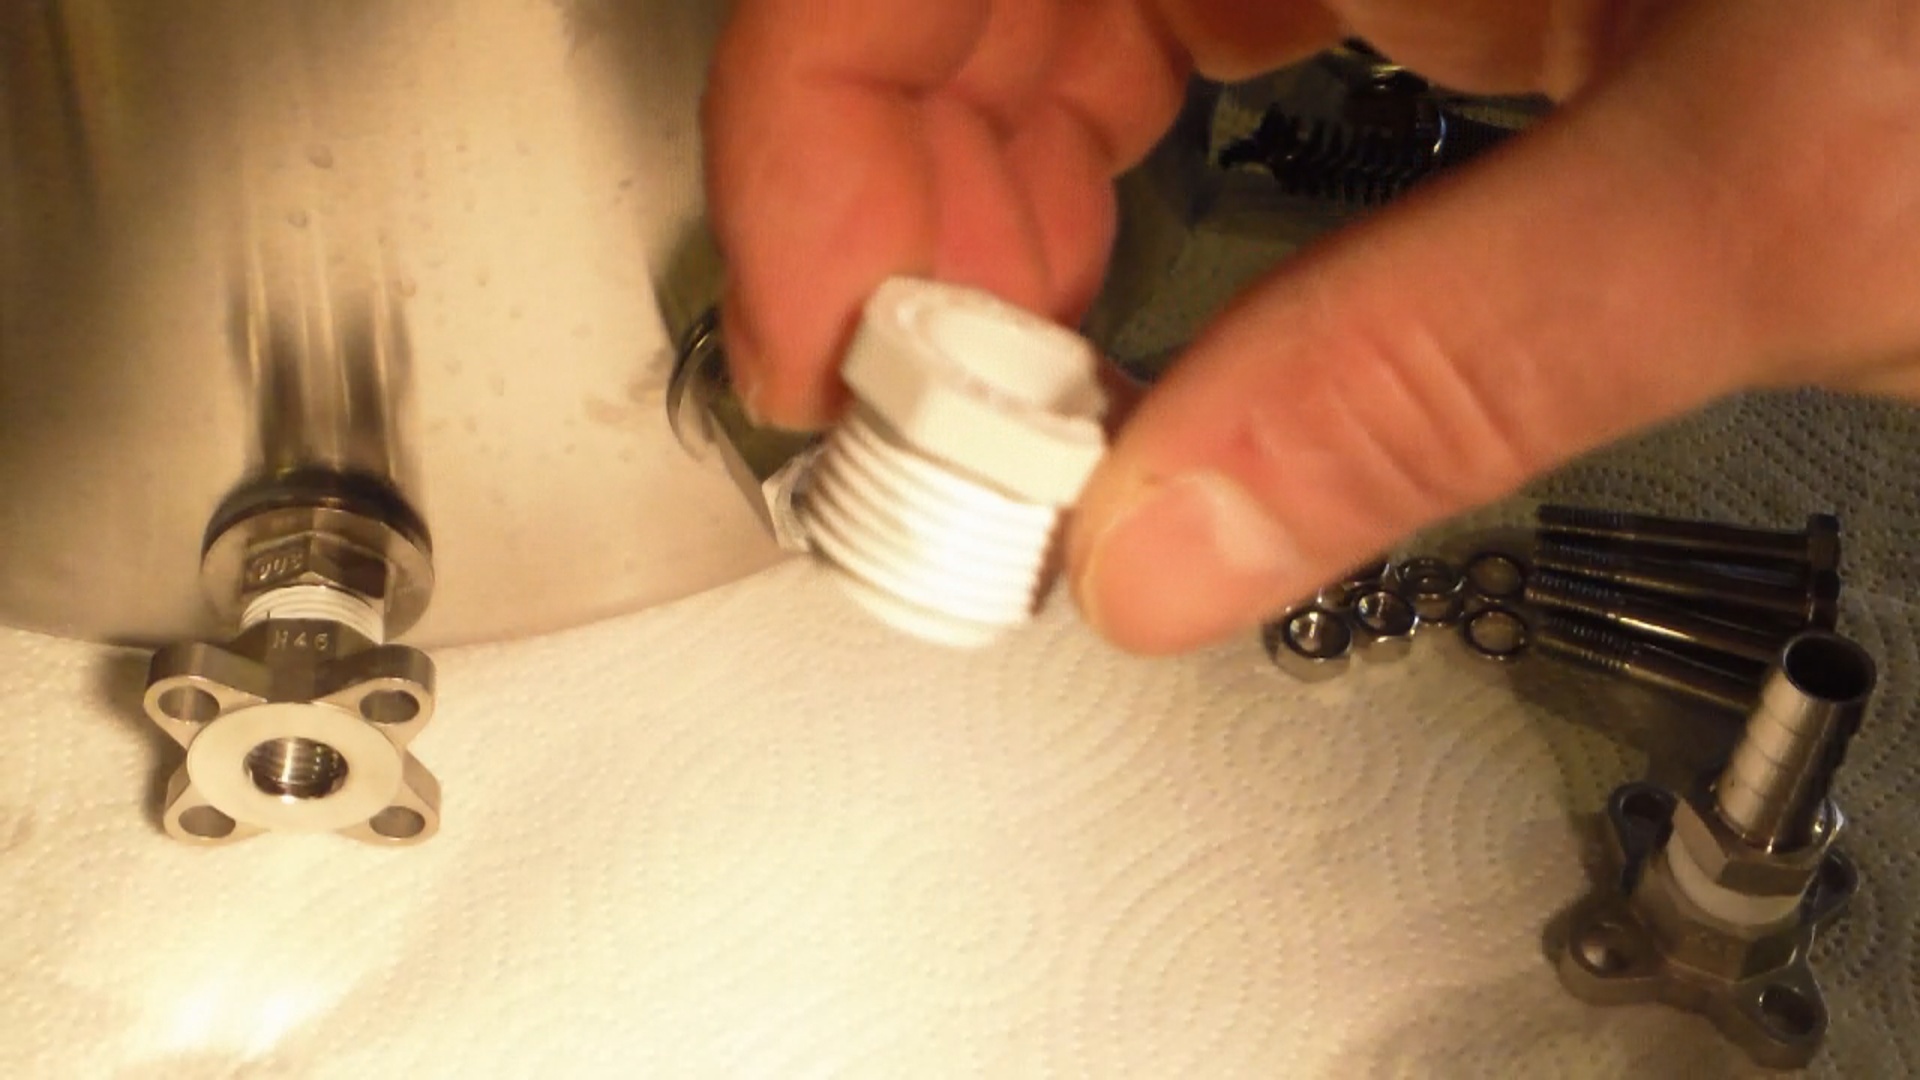
3:20 When I clean my pot I have to make sure to keep all my thermal paste inside my thermowell. When I take it out, careful not to break the thermometer, the paste stays where it is and I clean up all the threads. To ensure the paste stays on the inside without being disrupted, I use a half inch pvc cap that I put some Teflon tape on and use it to seal the paste inside. I screw it in enough to keep the water out when I’m washing. Now I’m just going to go through everything and clean it up, then reassemble.
4:13 One funny thing I forget. When I had everything apart I was filling up my kettle, getting ready to clean it with some Oxyclean, and it wasn’t filling until I noticed everything was just pouring out of the spout hole. So that was a dumb mistake and had to fill it and keep the kettle tilted.
Putting it back together it pretty simple. The ball itself has a little notch on it that lines up with the notch inside the valve. Turn the valve in the right position or off position and the ball should slide right into place. Then the rounded side on the plastic bushing pieces are inserted as well on both sides.
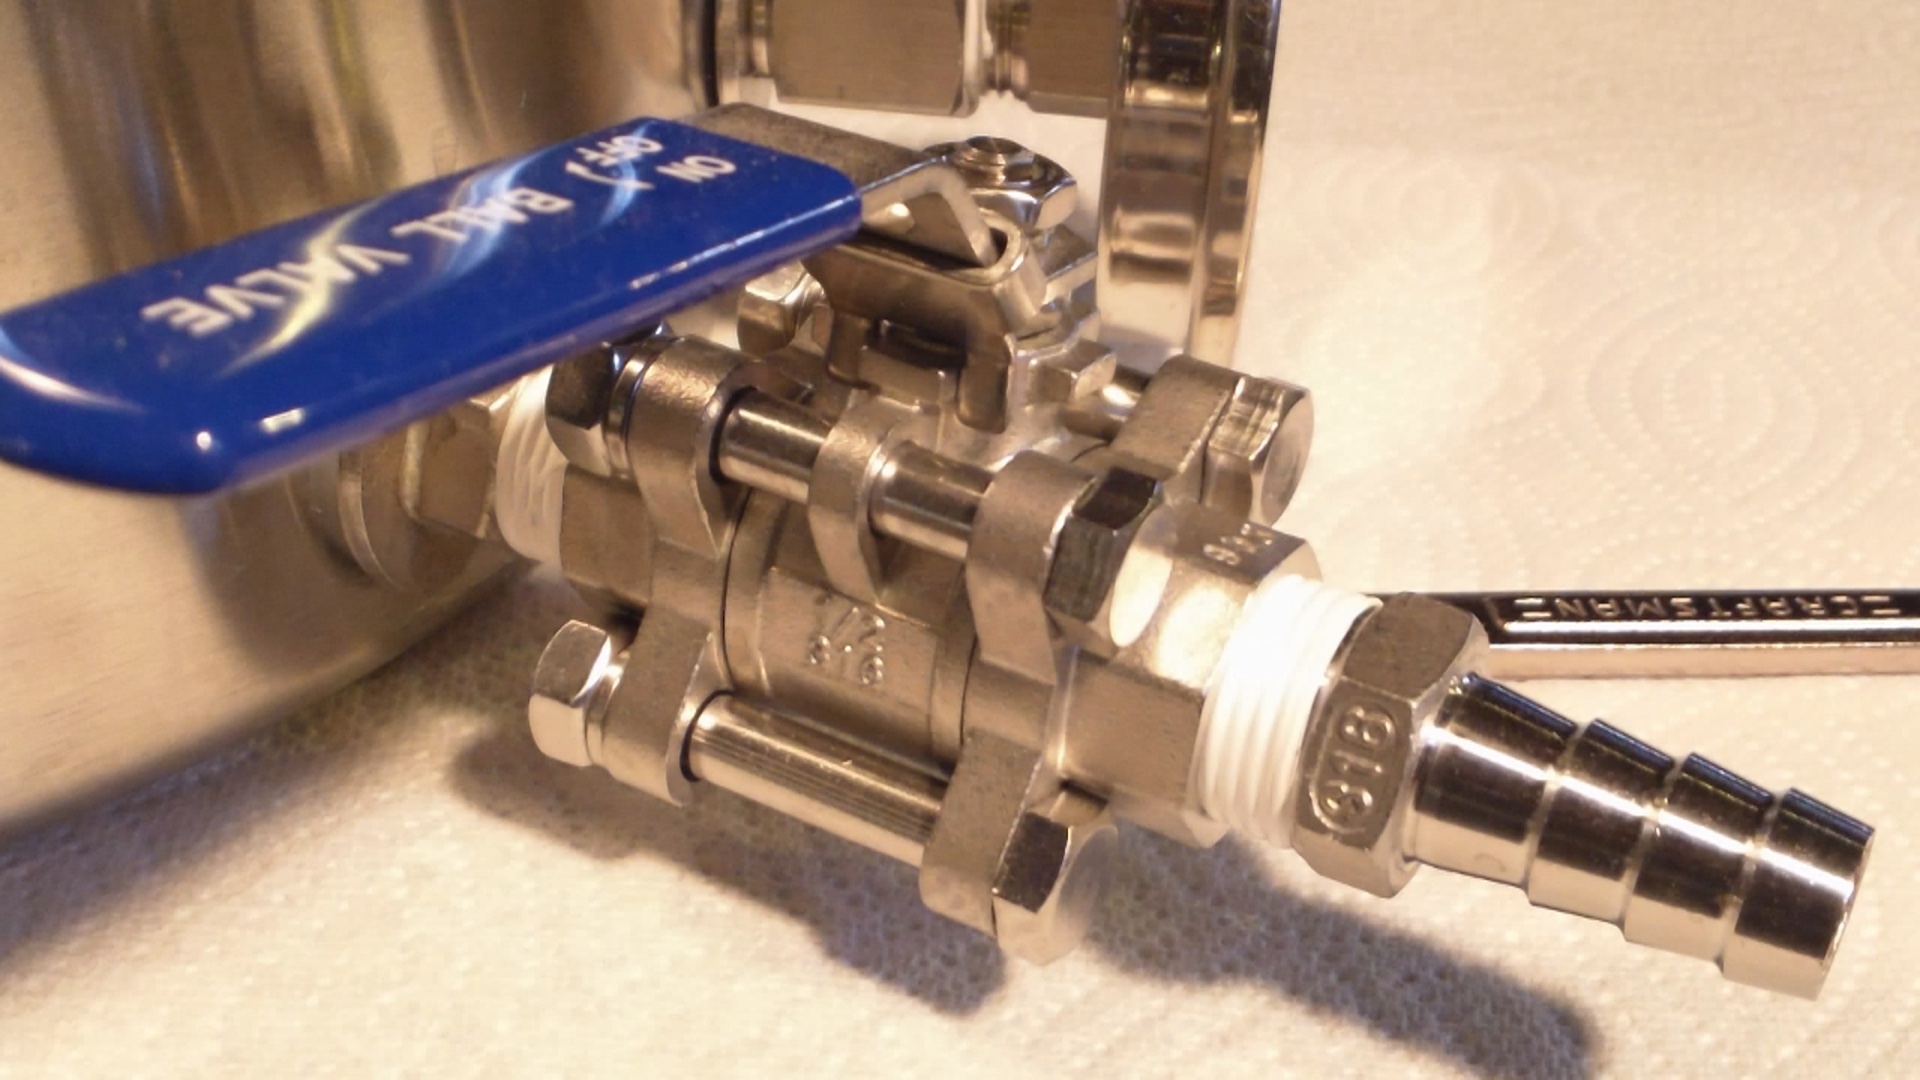
5:32 Next make sure the direction of the valve is in the correct location so when you turn it off the thermometer is not in the way. As you begin connecting the rest of the pieces, make sure each hole aligns and add one bolt at a time. I normally first do the top left corner then bottom right to ensure stability. Make sure to add the lock washers and nuts in the back as well. Don’t tighten anything too tight yet, until everything is lined up. Also don’t forget to check it all for leaks before you start your next brew session.